
Watch out: Avoid these installation mistakes!
BILSTEIN workshop tip
The satisfaction of your customers is just as important to us as it is to you. We have therefore compiled ten typical installation mistakes which tend to occur in practical application. This allows workshops to increase their competence as suspension experts and guarantee the smooth replacement of shock absorbers.
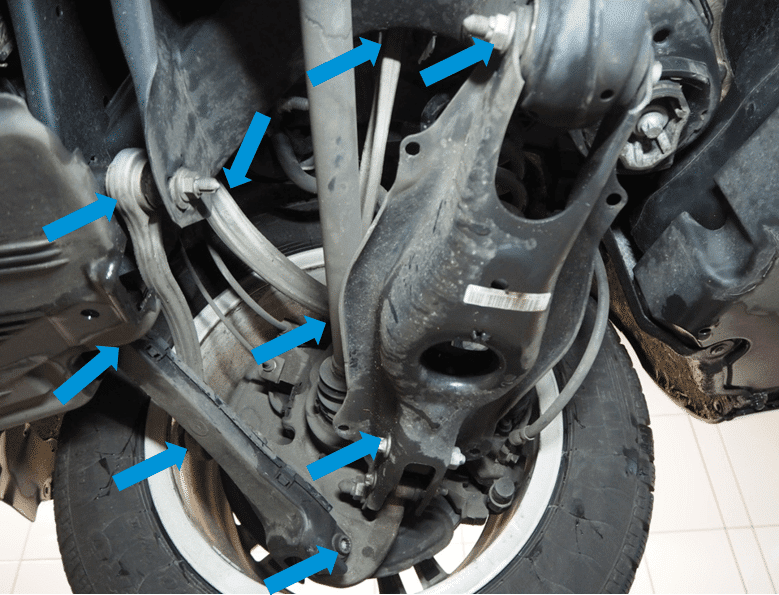
Tensioned installation of shock absorbers
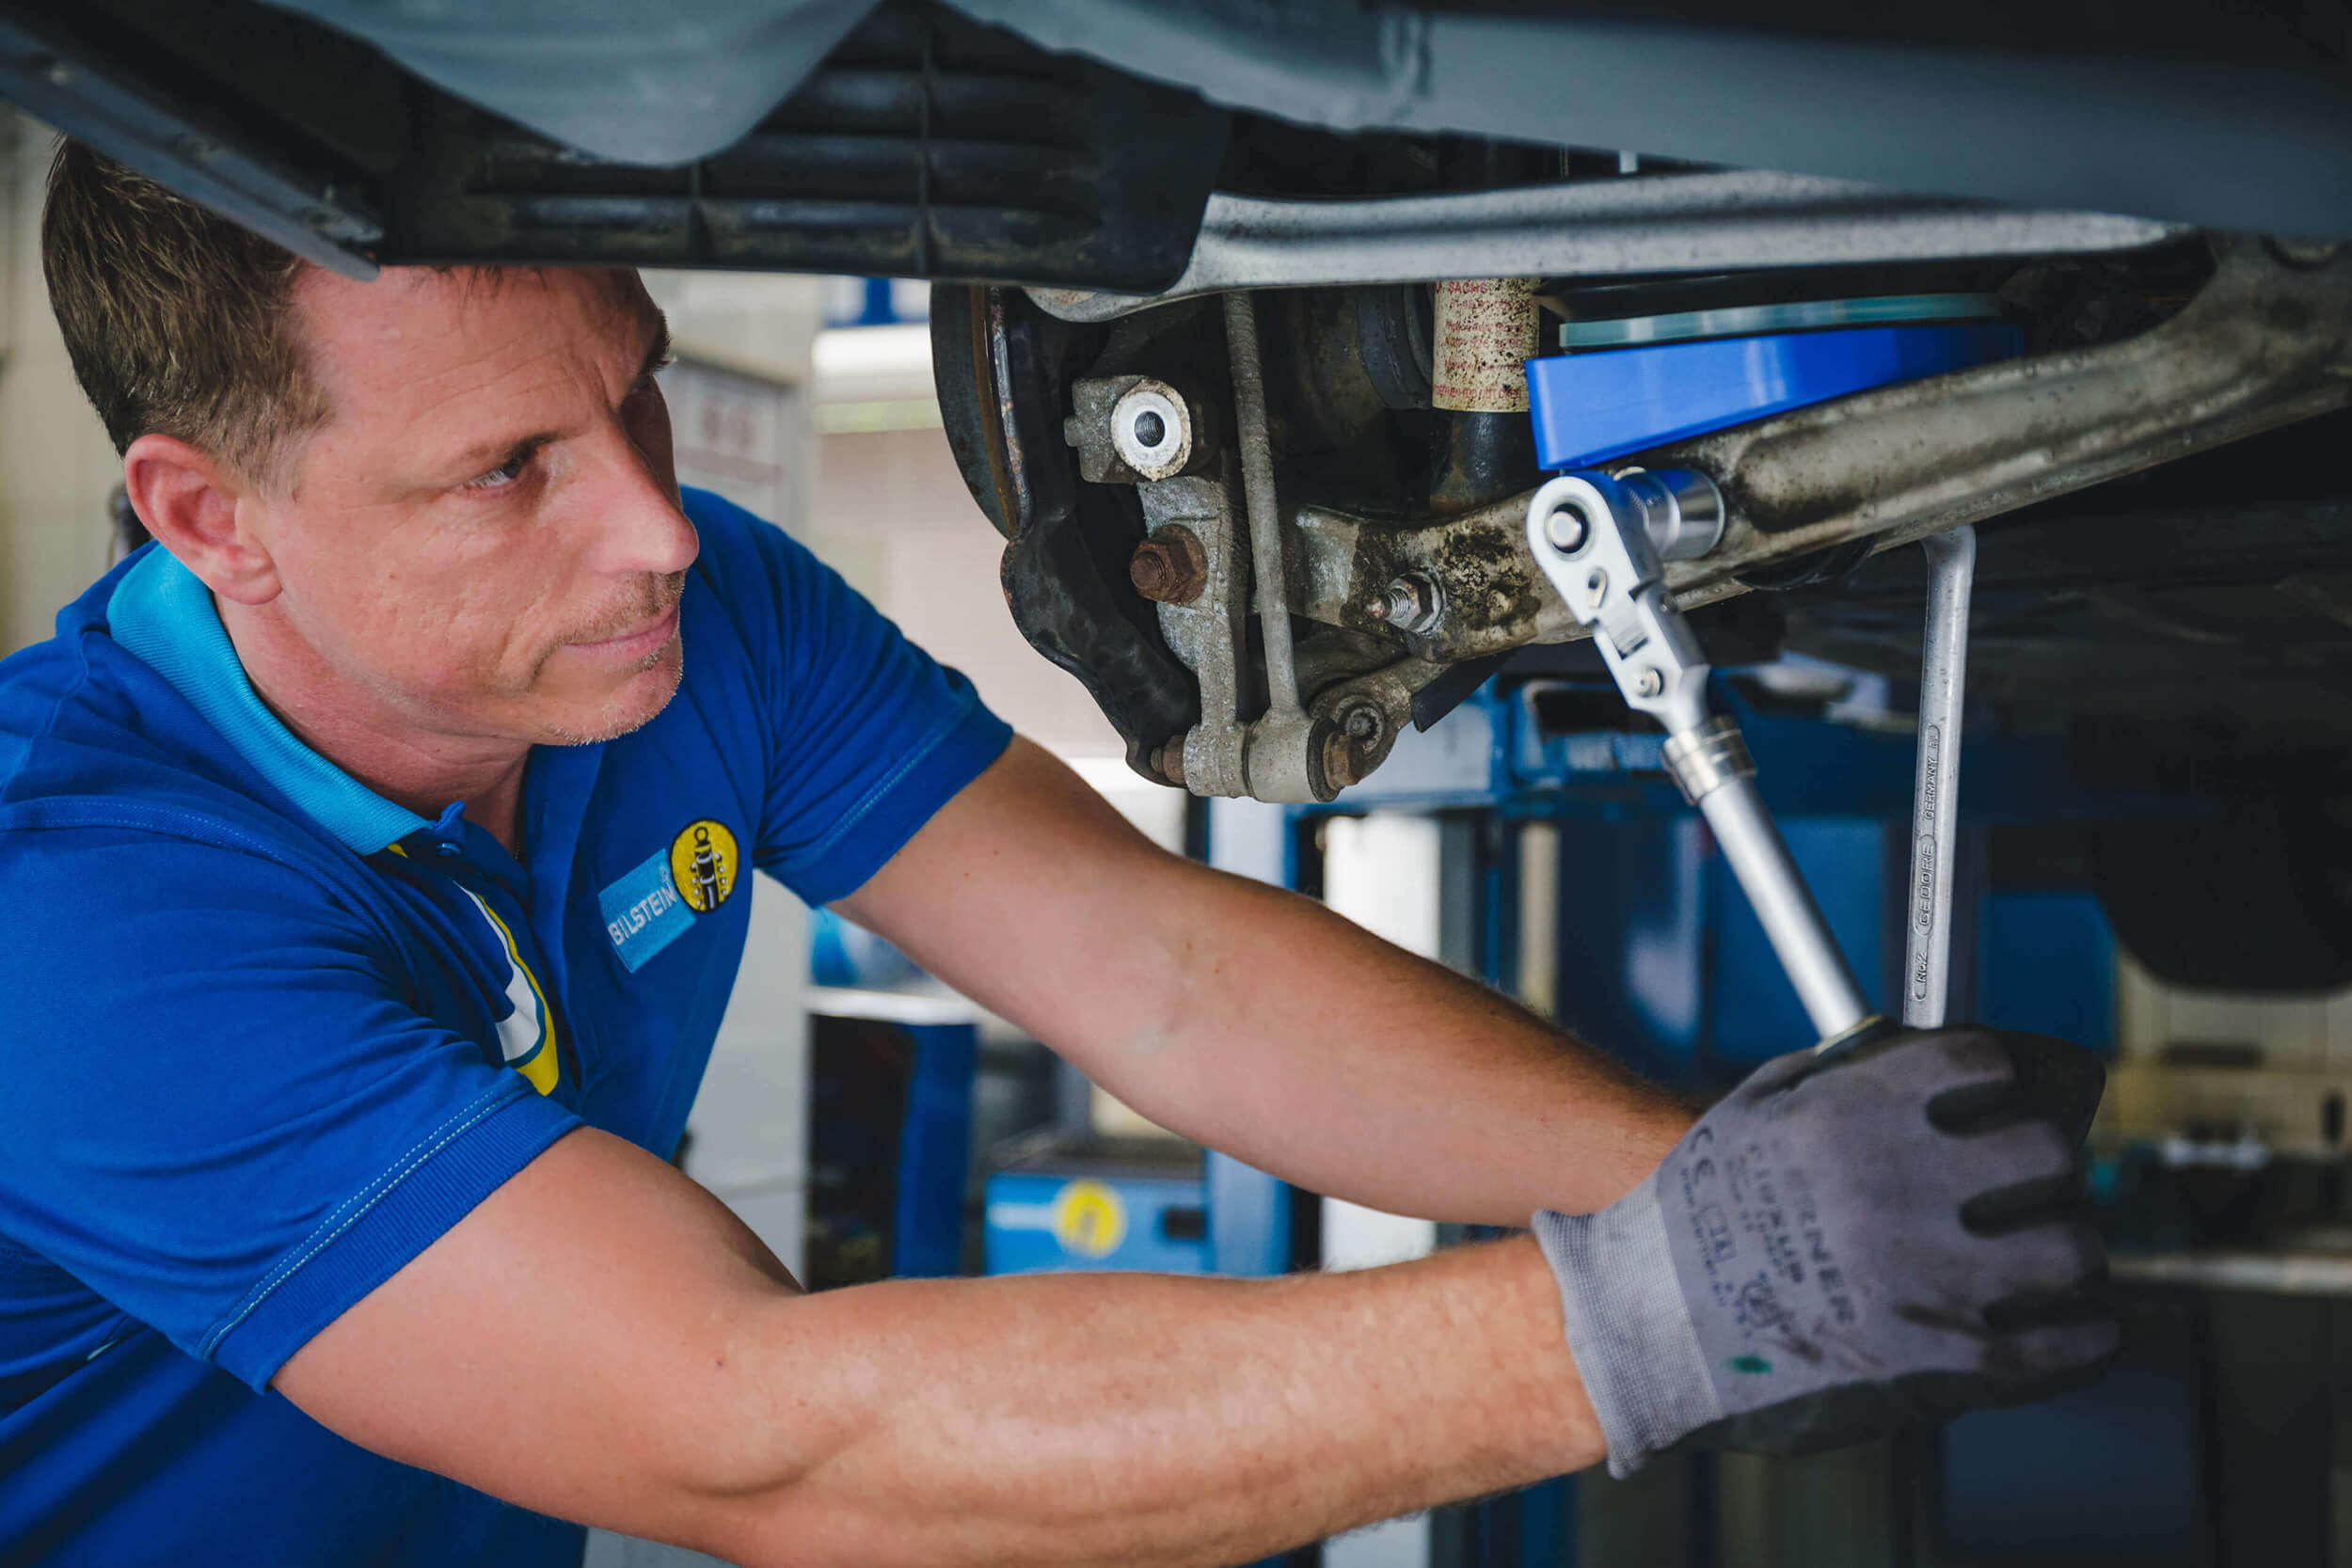
Do not tighten the shock absorbers while the vehicle is still on the lifting platform and the wheels are hanging freely.
Correct:
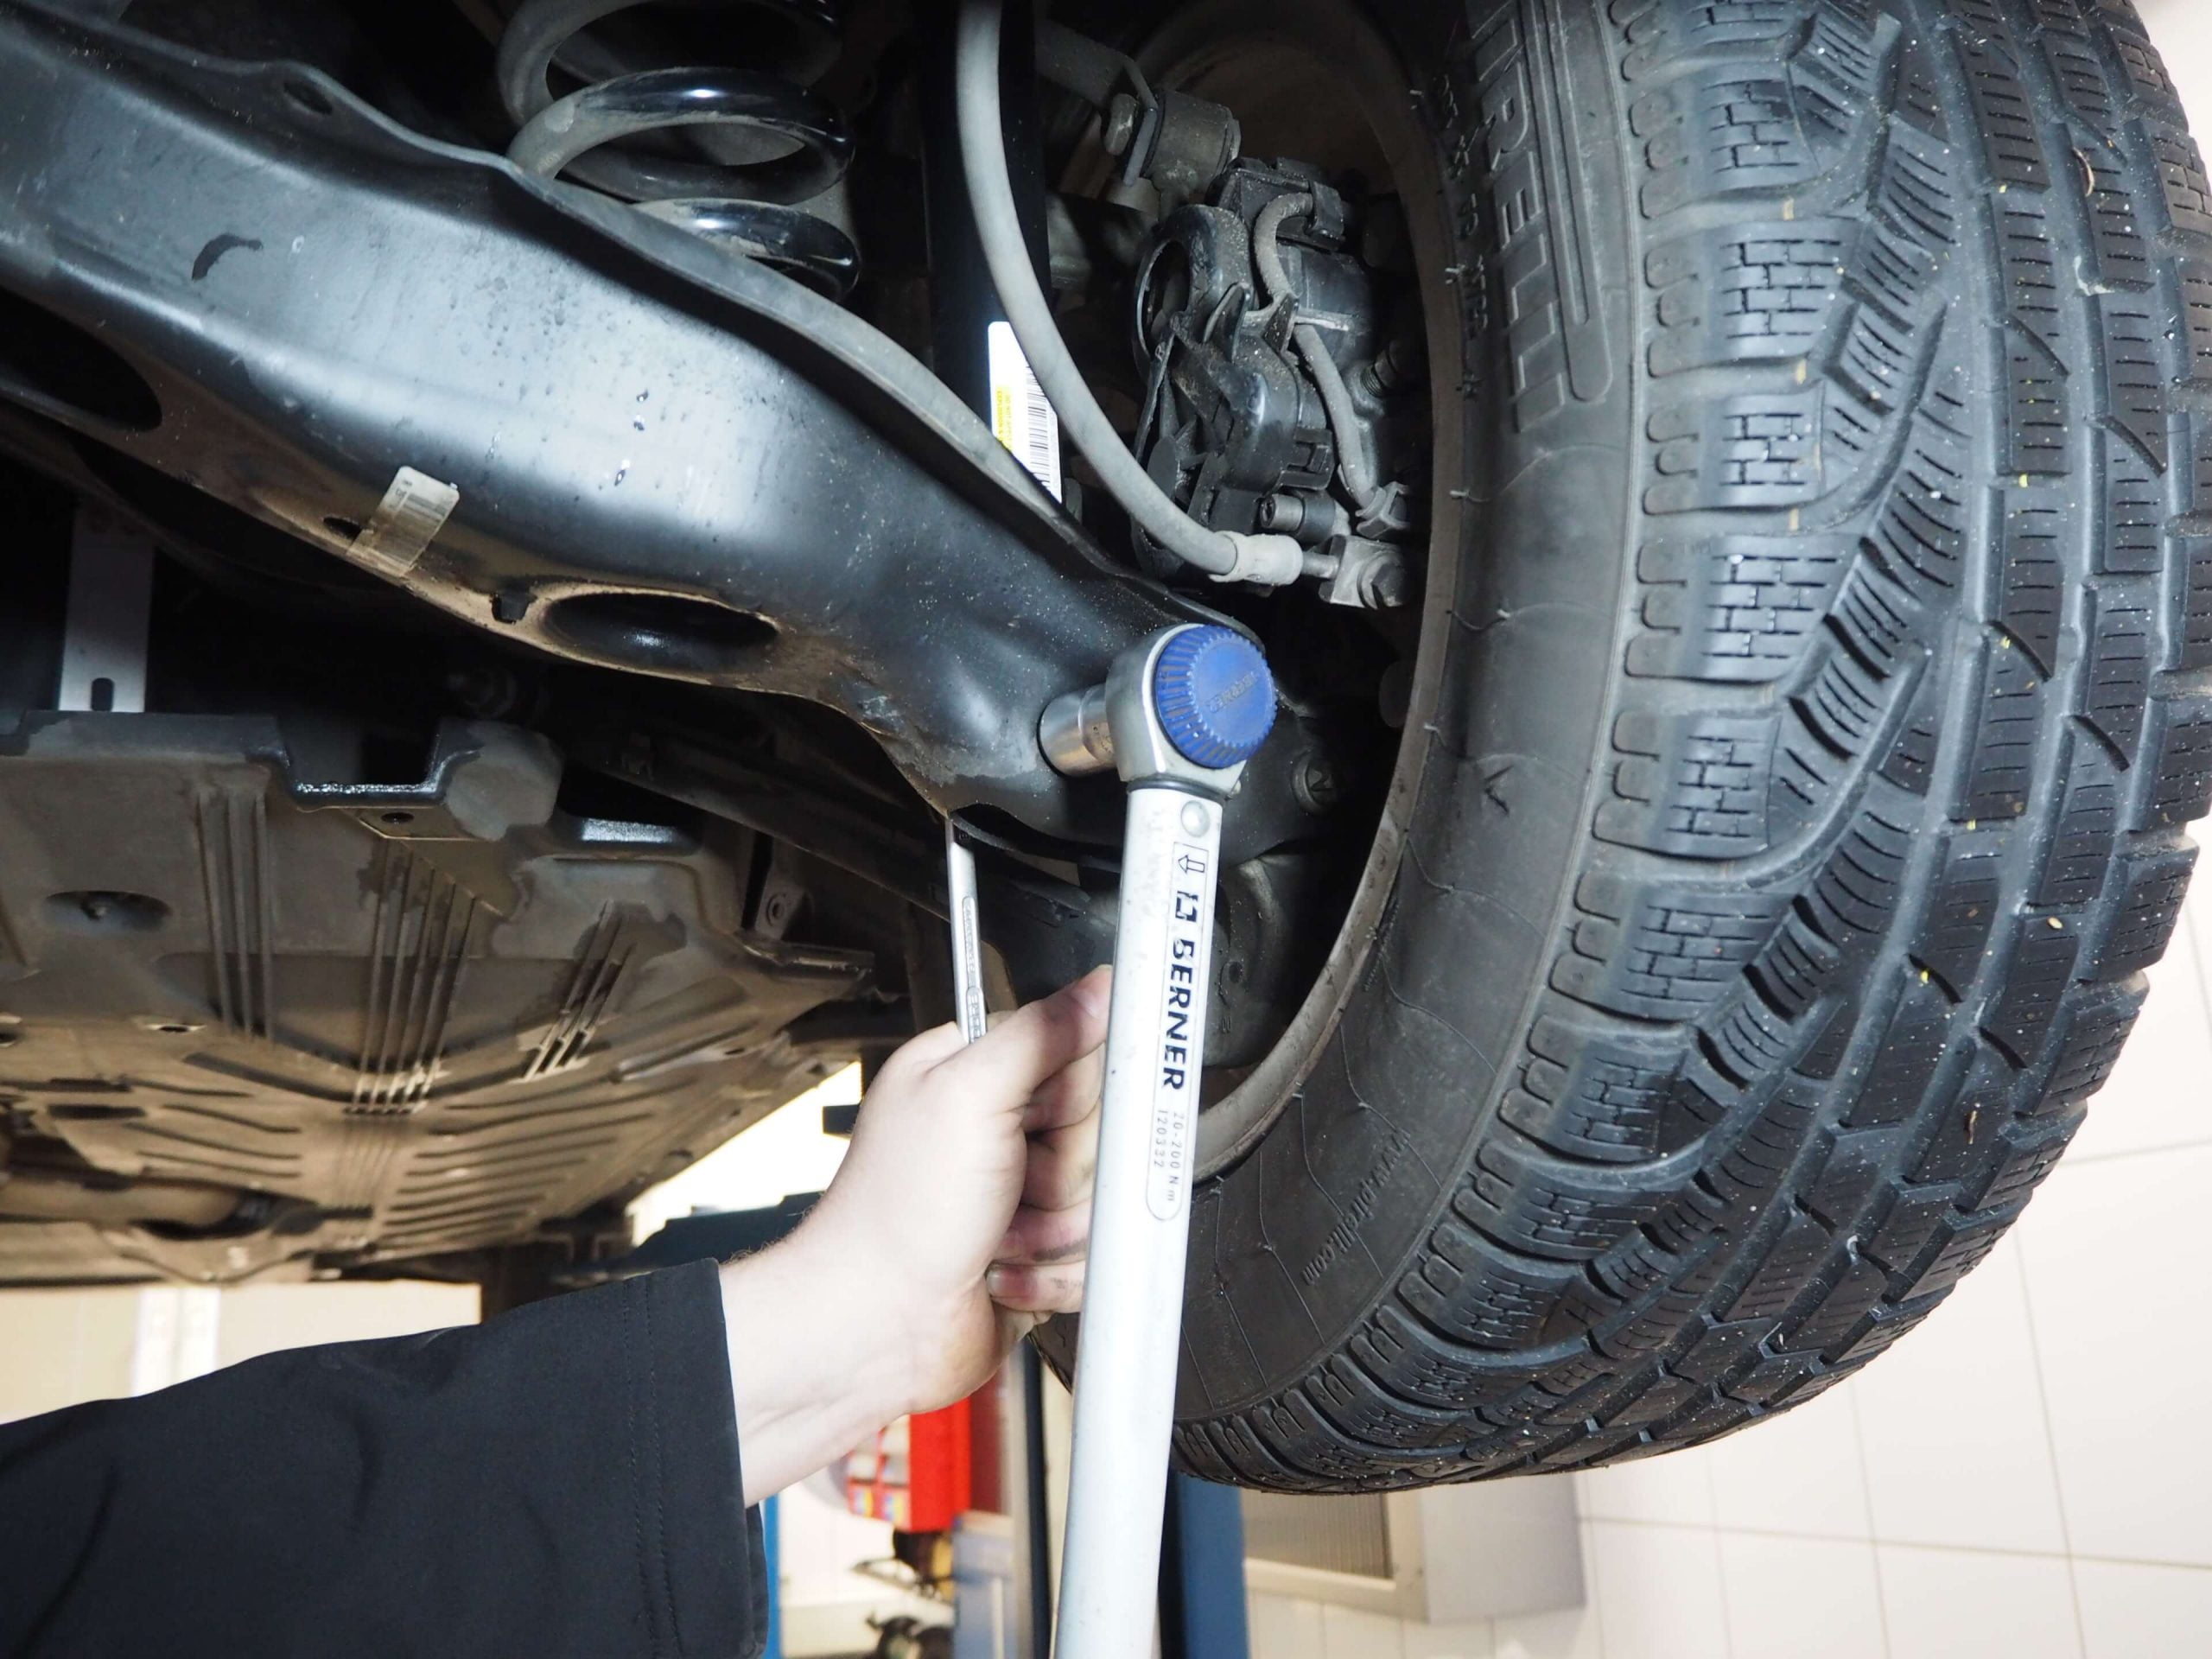
Only tighten struts and shock absorbers in rubber suspensions once the vehicle is back on the ground (K0 position). Other fixings (e.g. clamps) have to be tightened before lowering the vehicle.
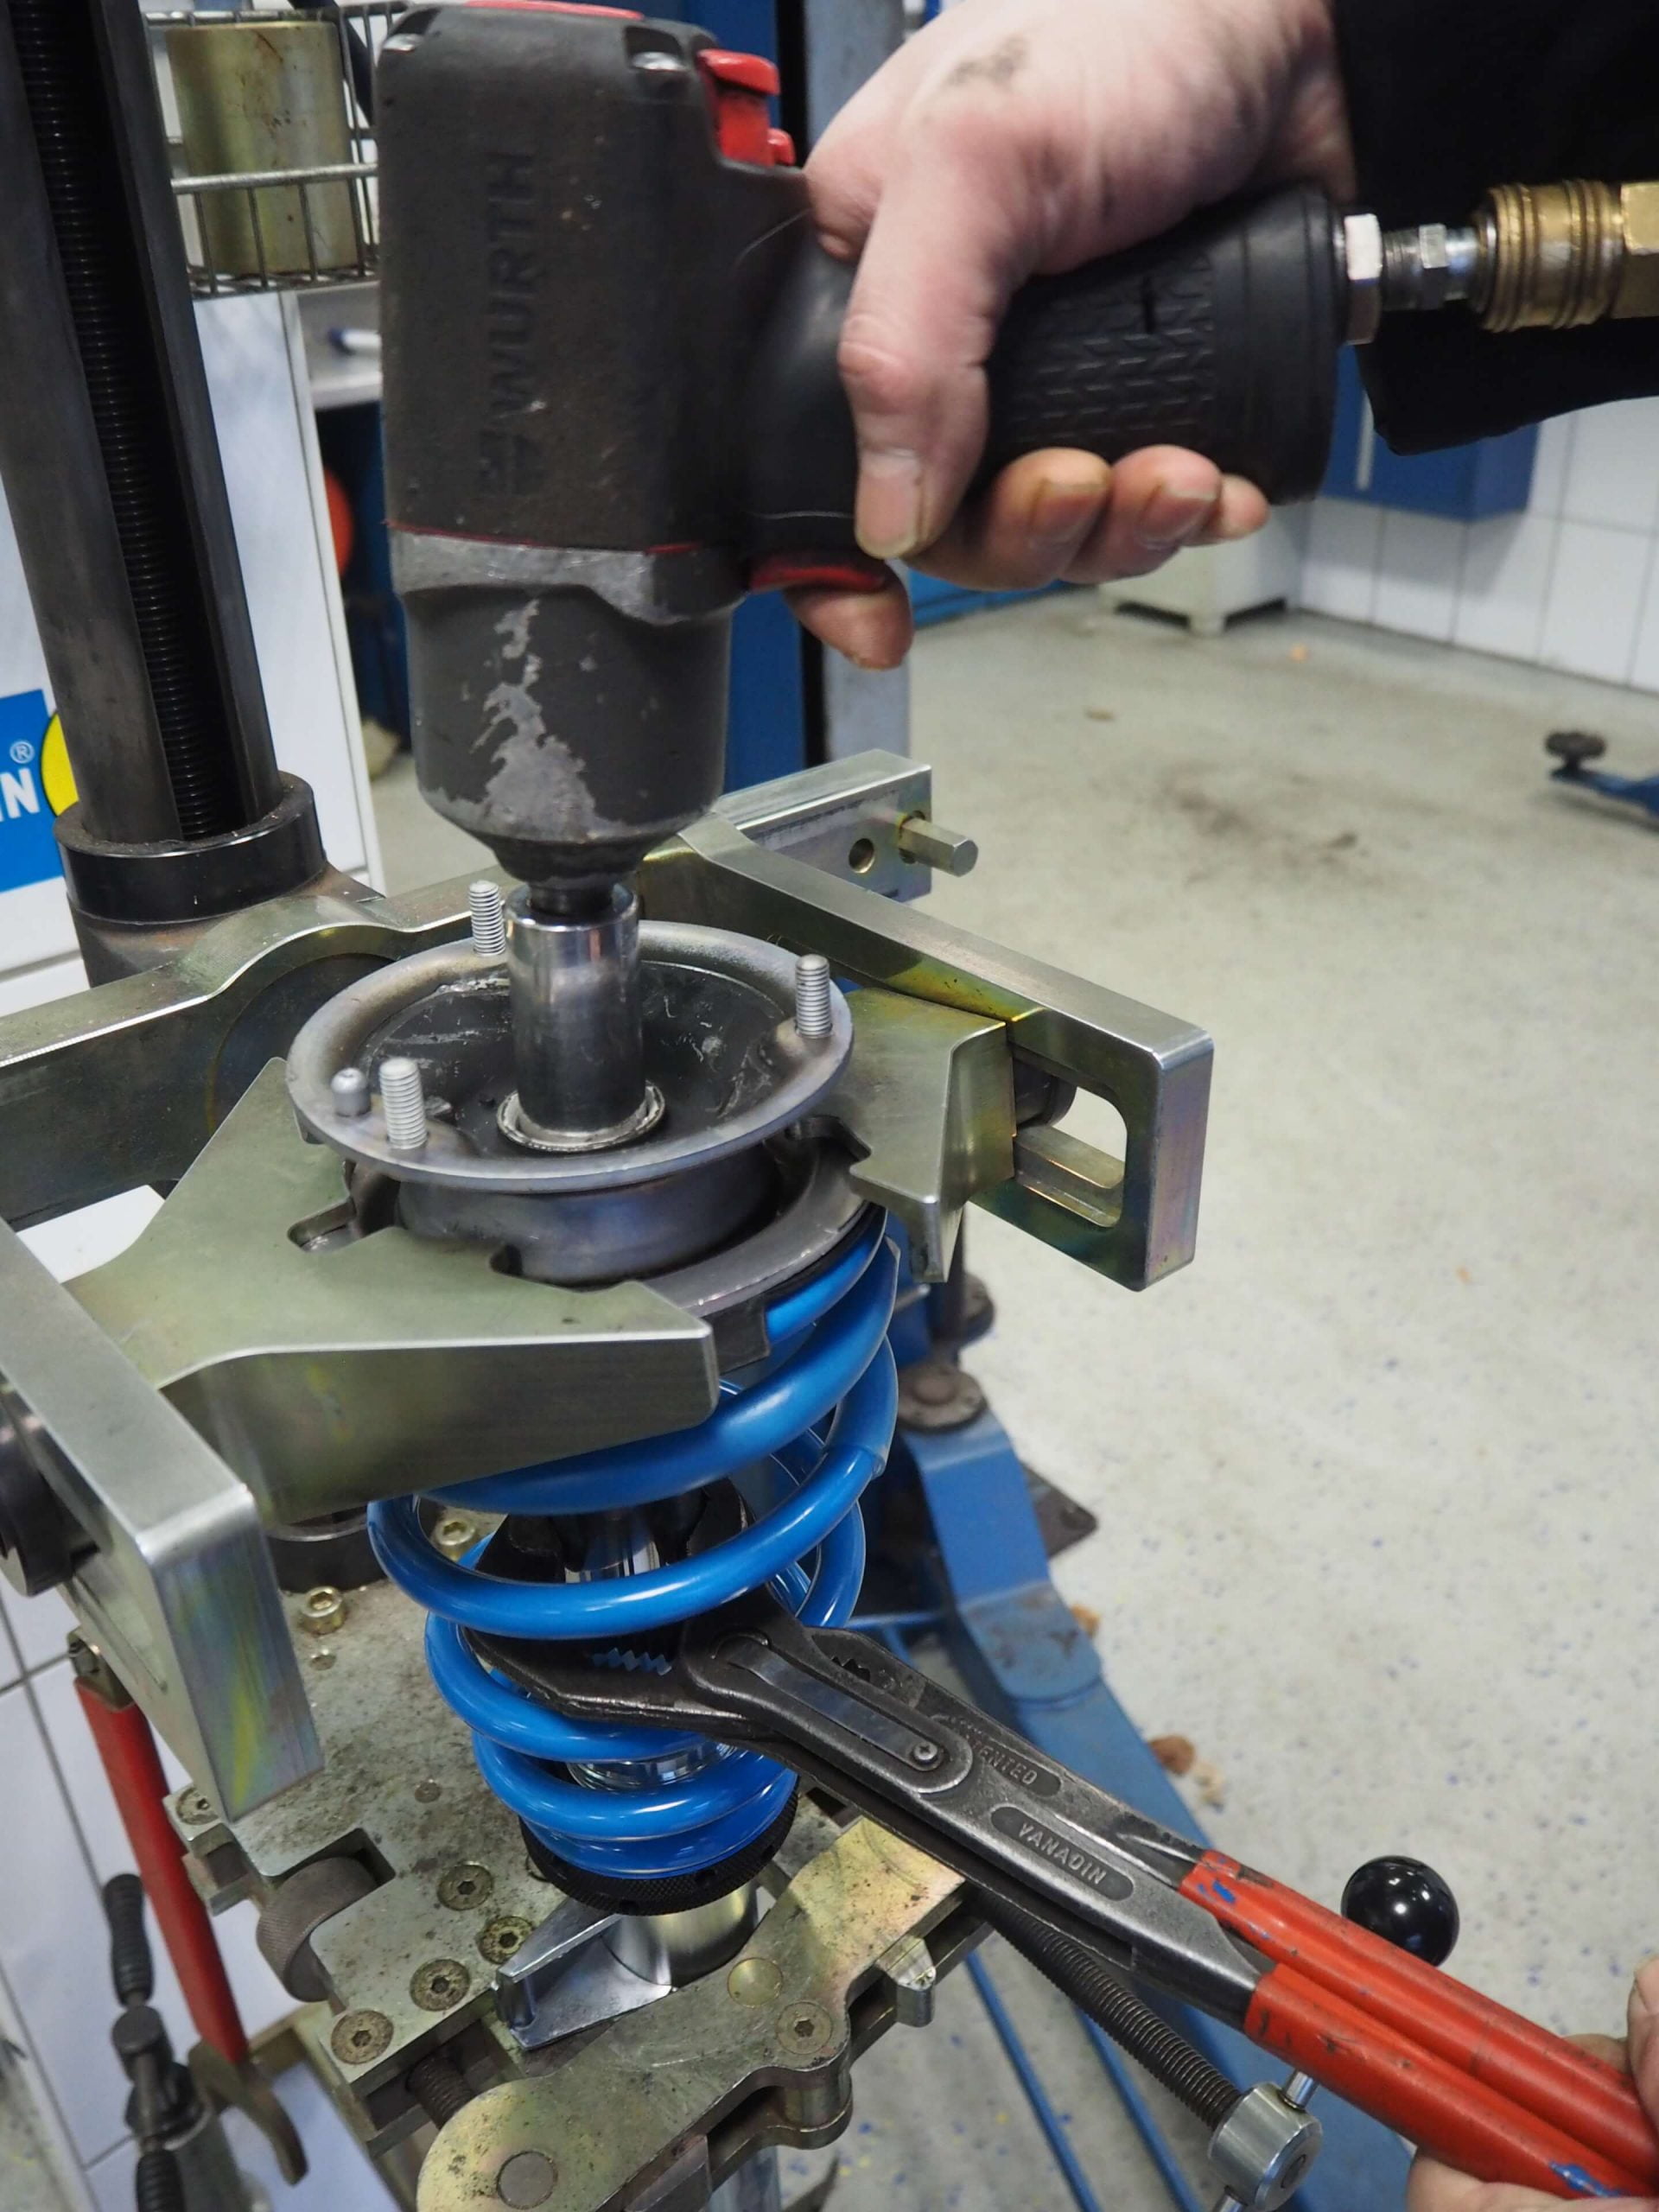
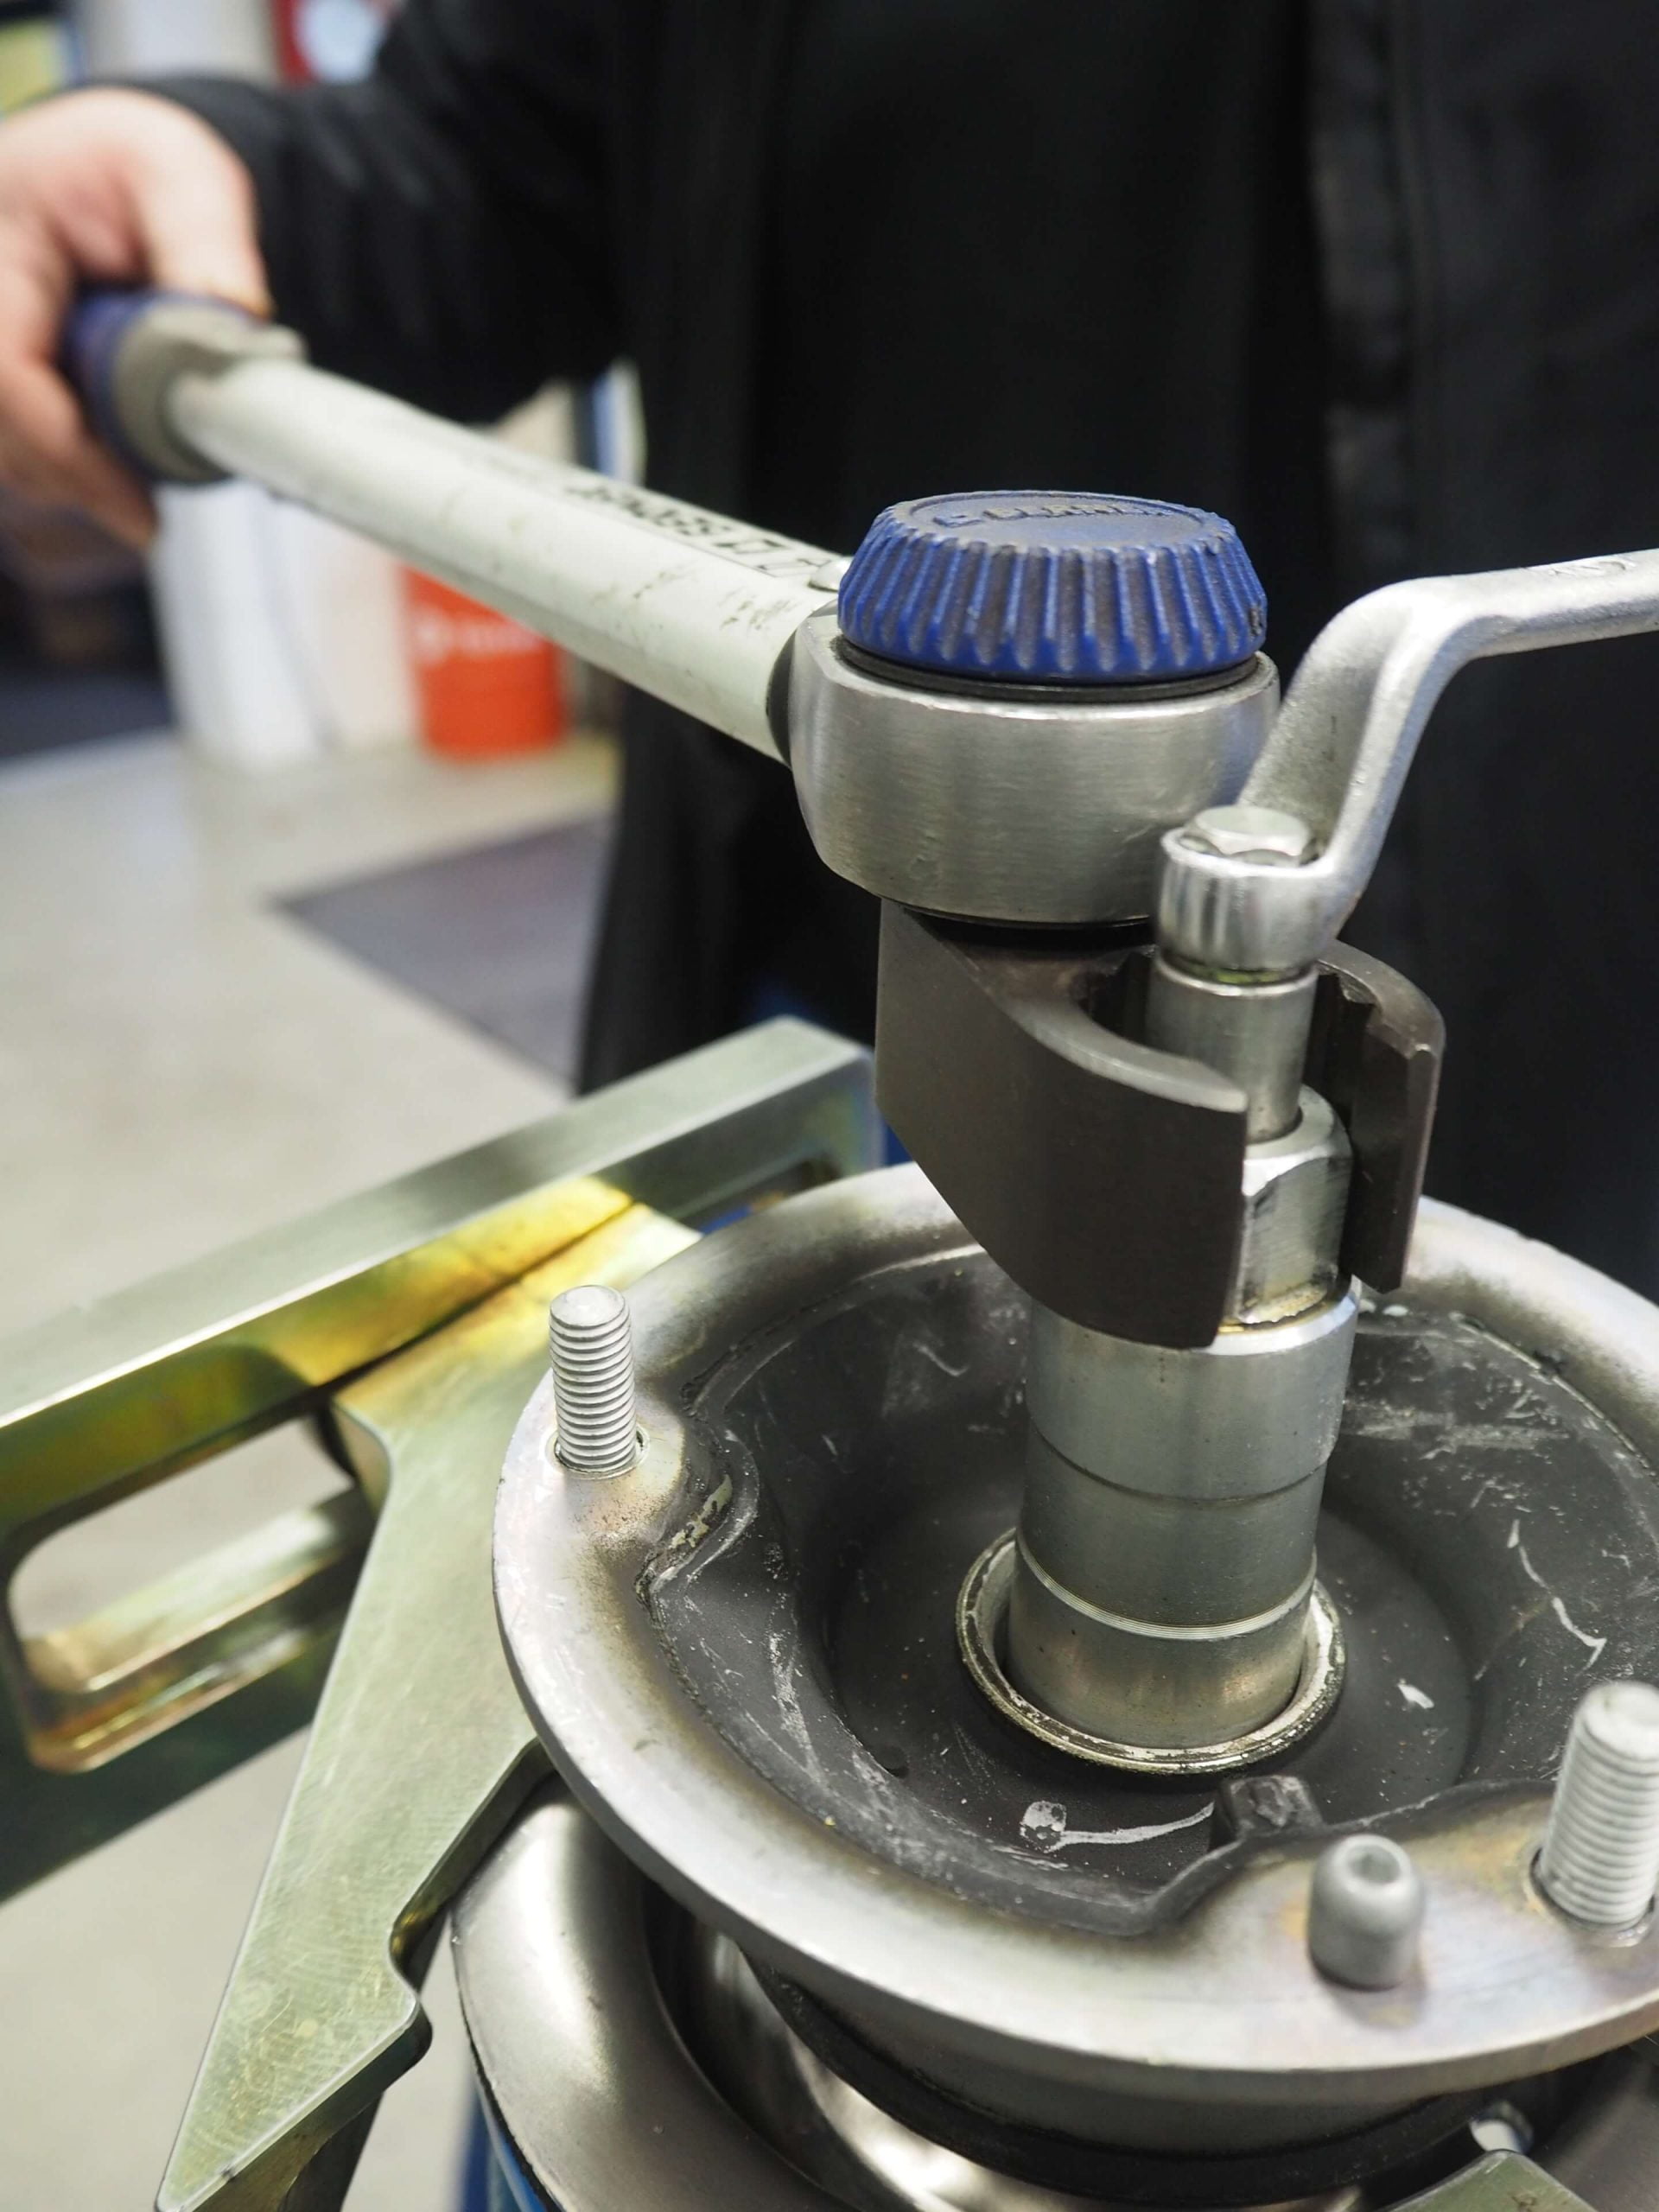
Installing and removing the shock absorbers/suspension parts with an impact driver
Removing and installing shock absorbers/suspension parts with an impact driver (also pliers on the piston rod/shock absorber tube) can damage the shock absorbers and create noise later on. There is also a risk of the screw fitting of the working piston on the piston rod coming loose. On gas-pressure shock absorbers, the piston rod could then be ejected from the shock absorber (caution: hazard!). The use of pliers also damages the finely machined surface – average surface roughness (Rz) = 0,2 µm.
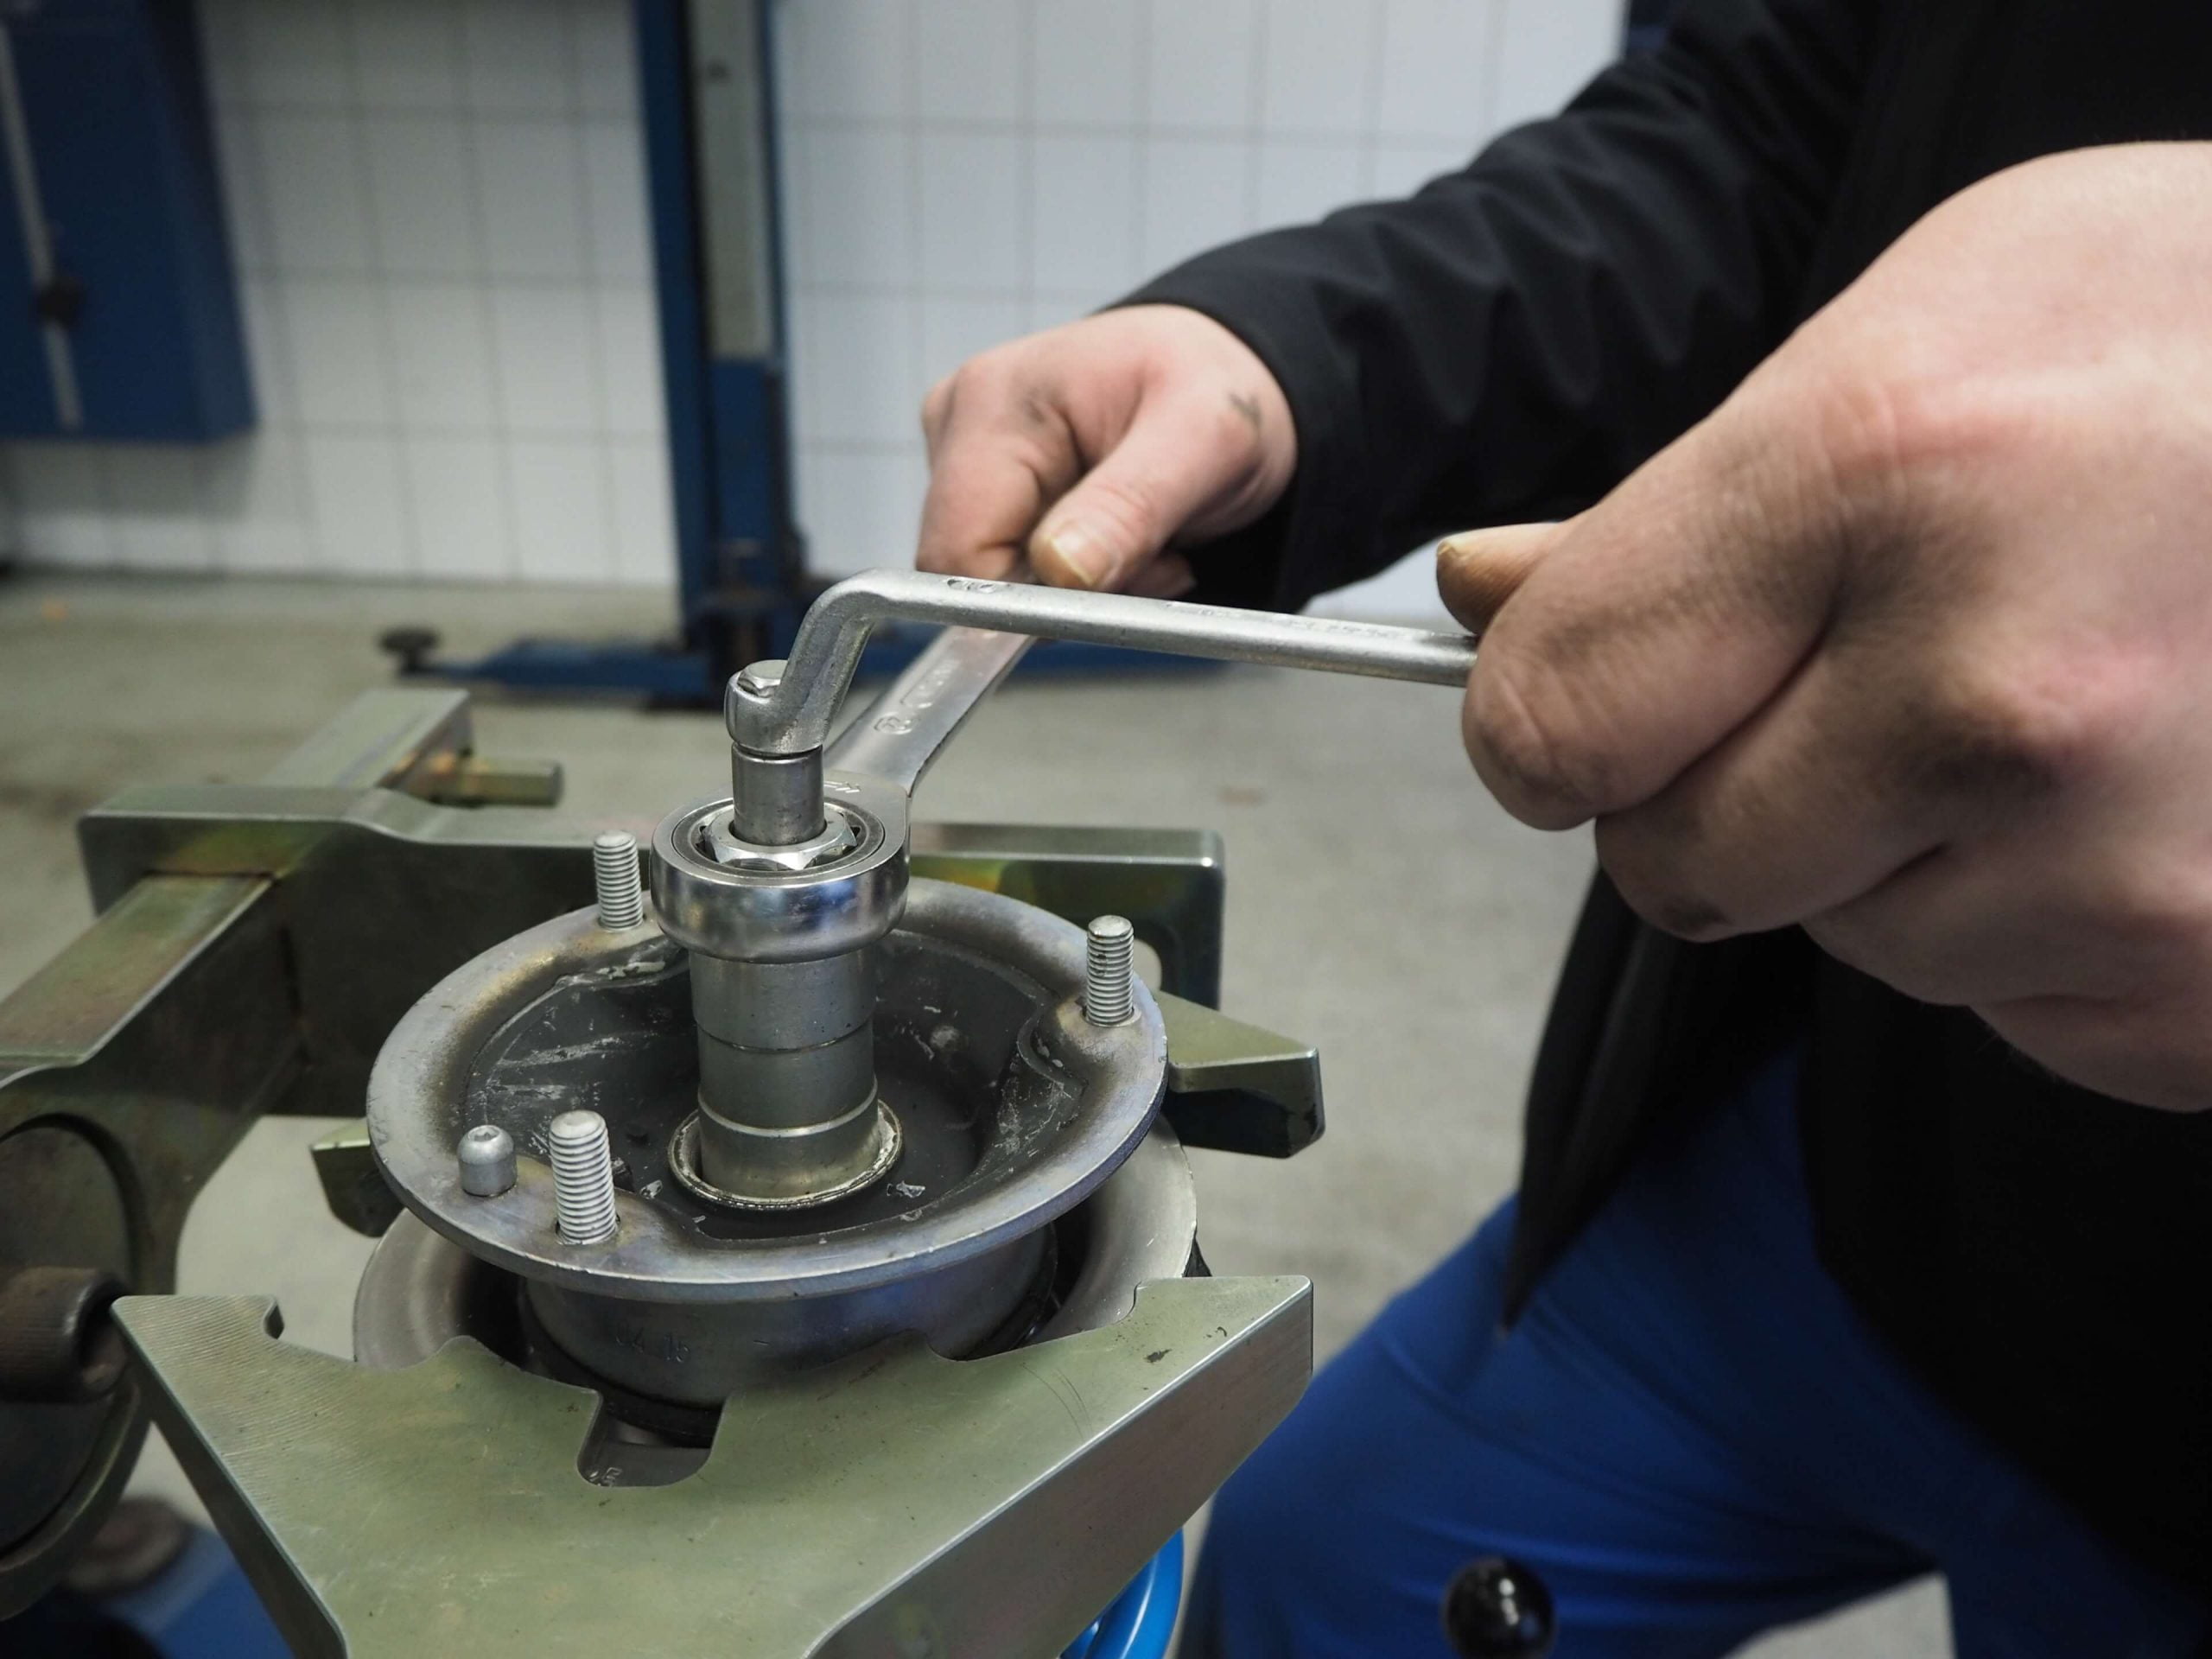
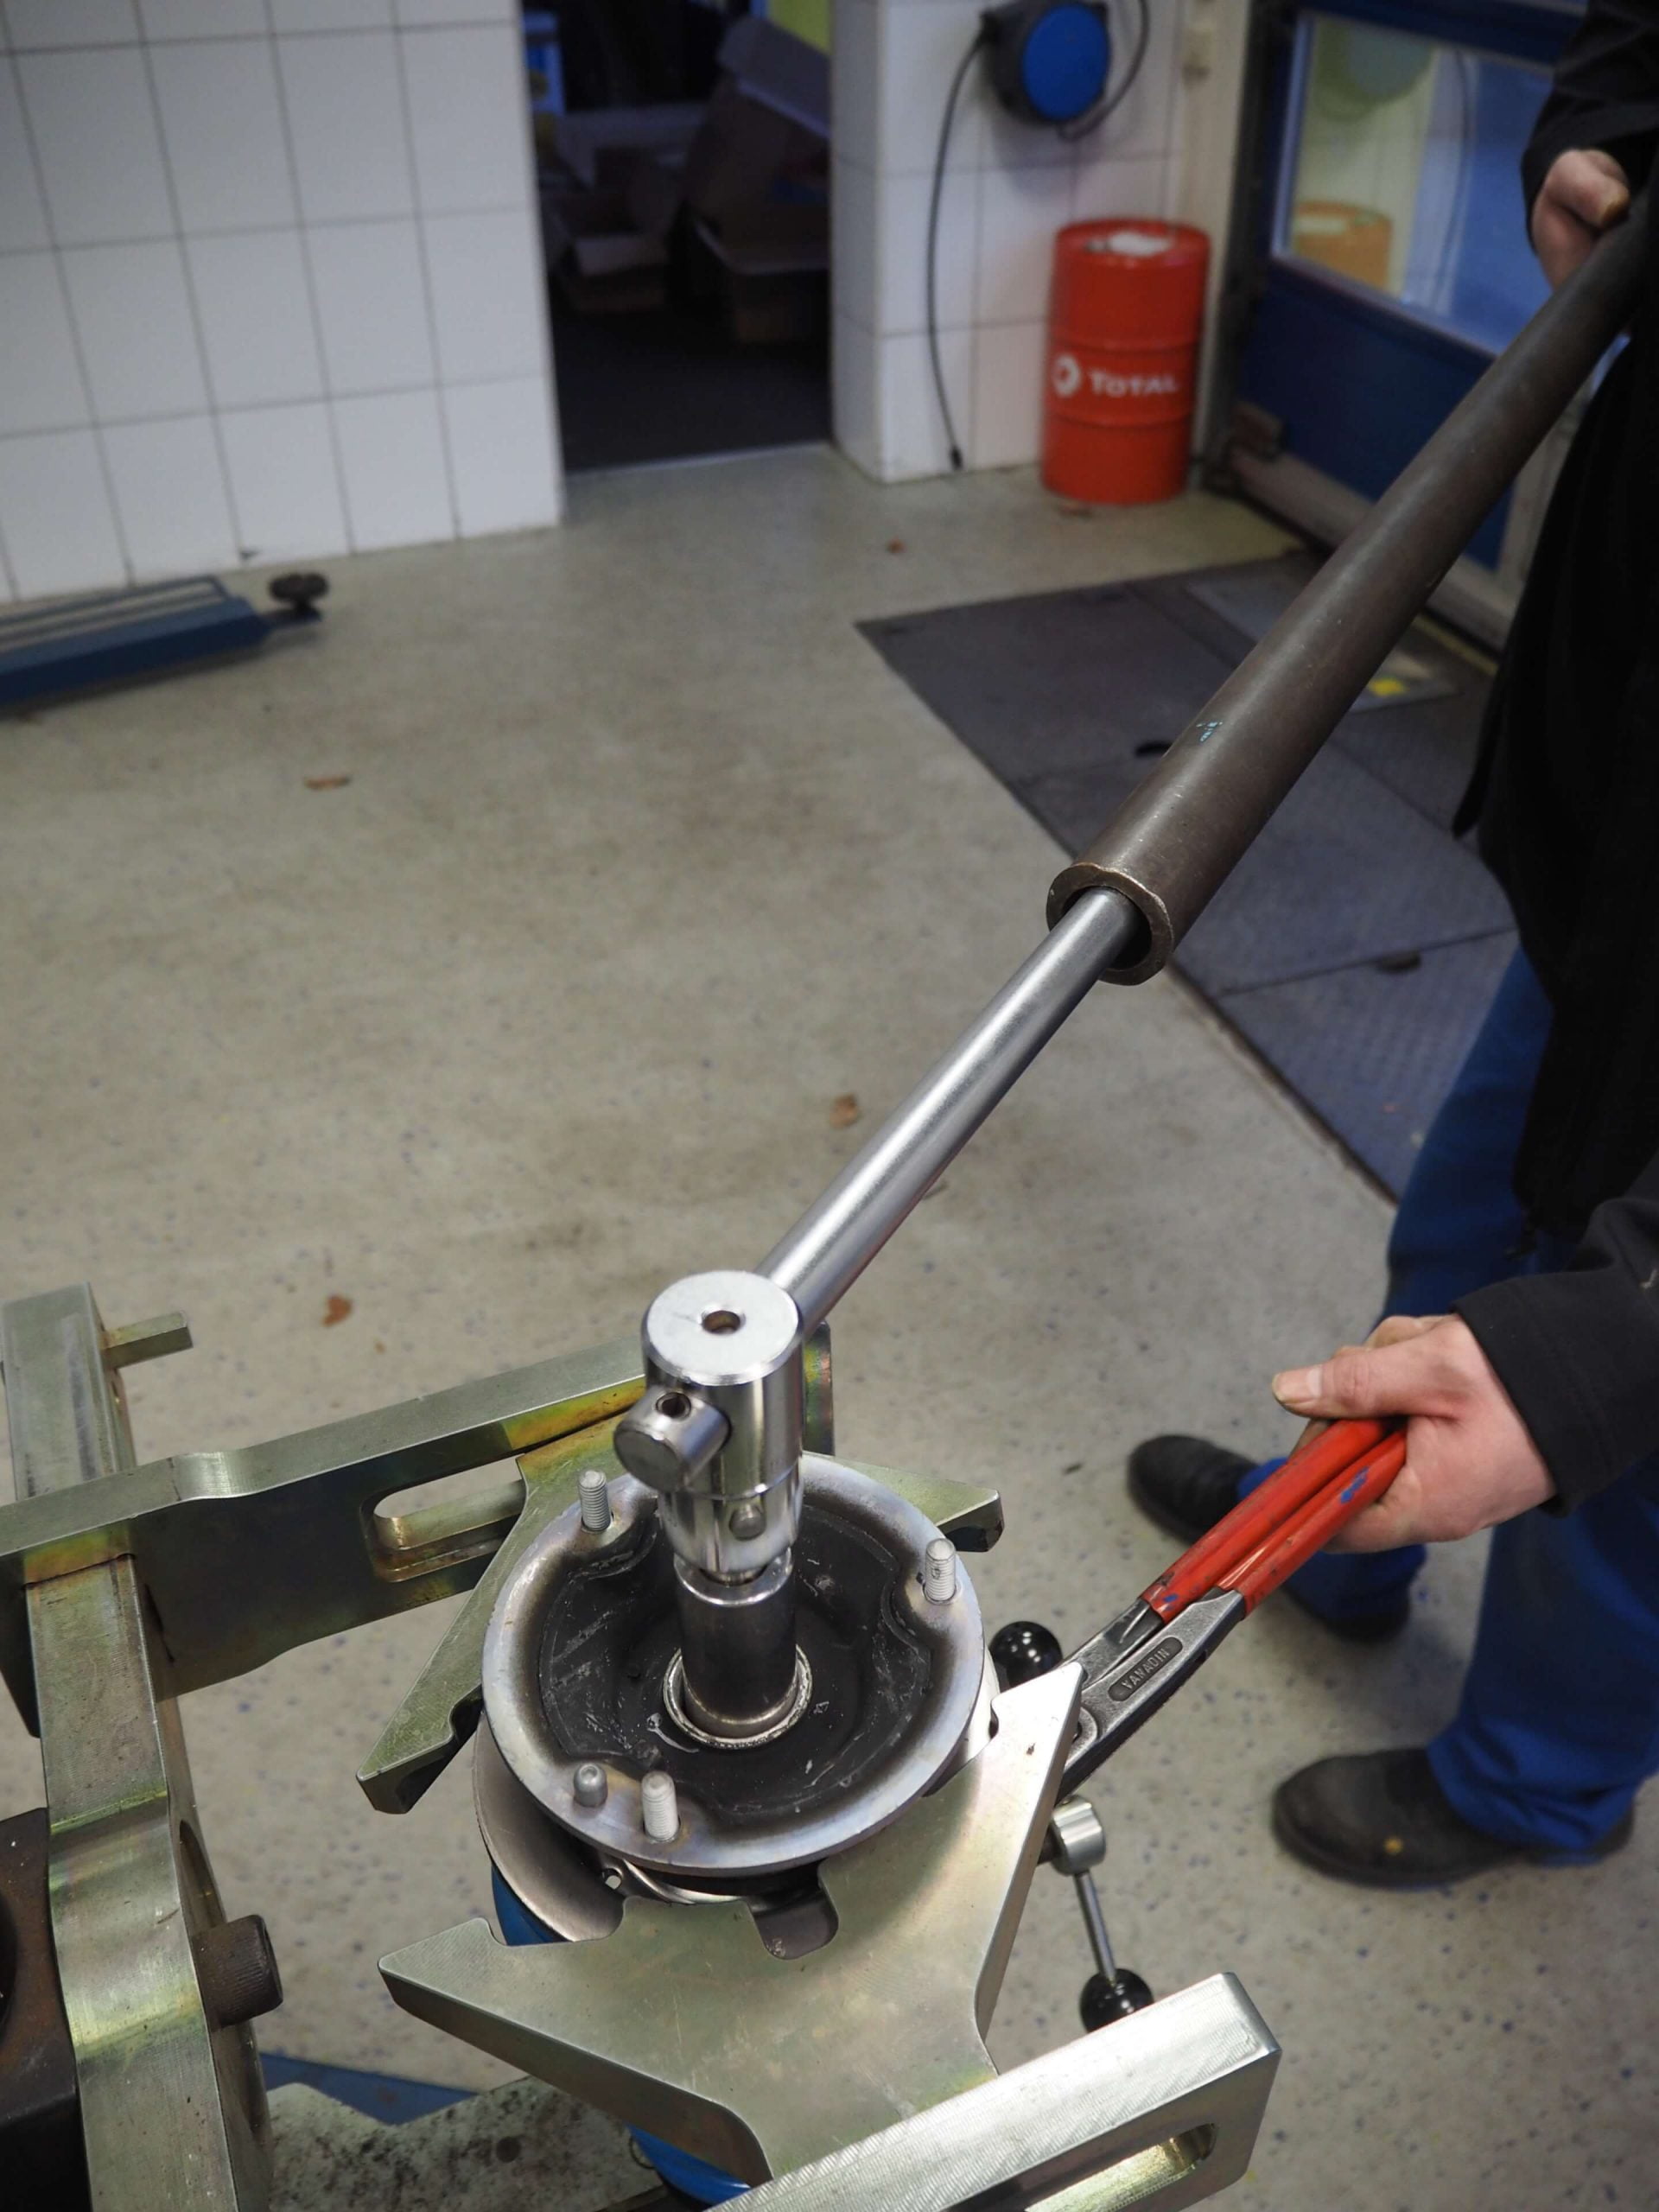
Correct:
Always use the indicated/suitable tool. Never position a tool (e.g. pliers) on the surface of the piston rod.
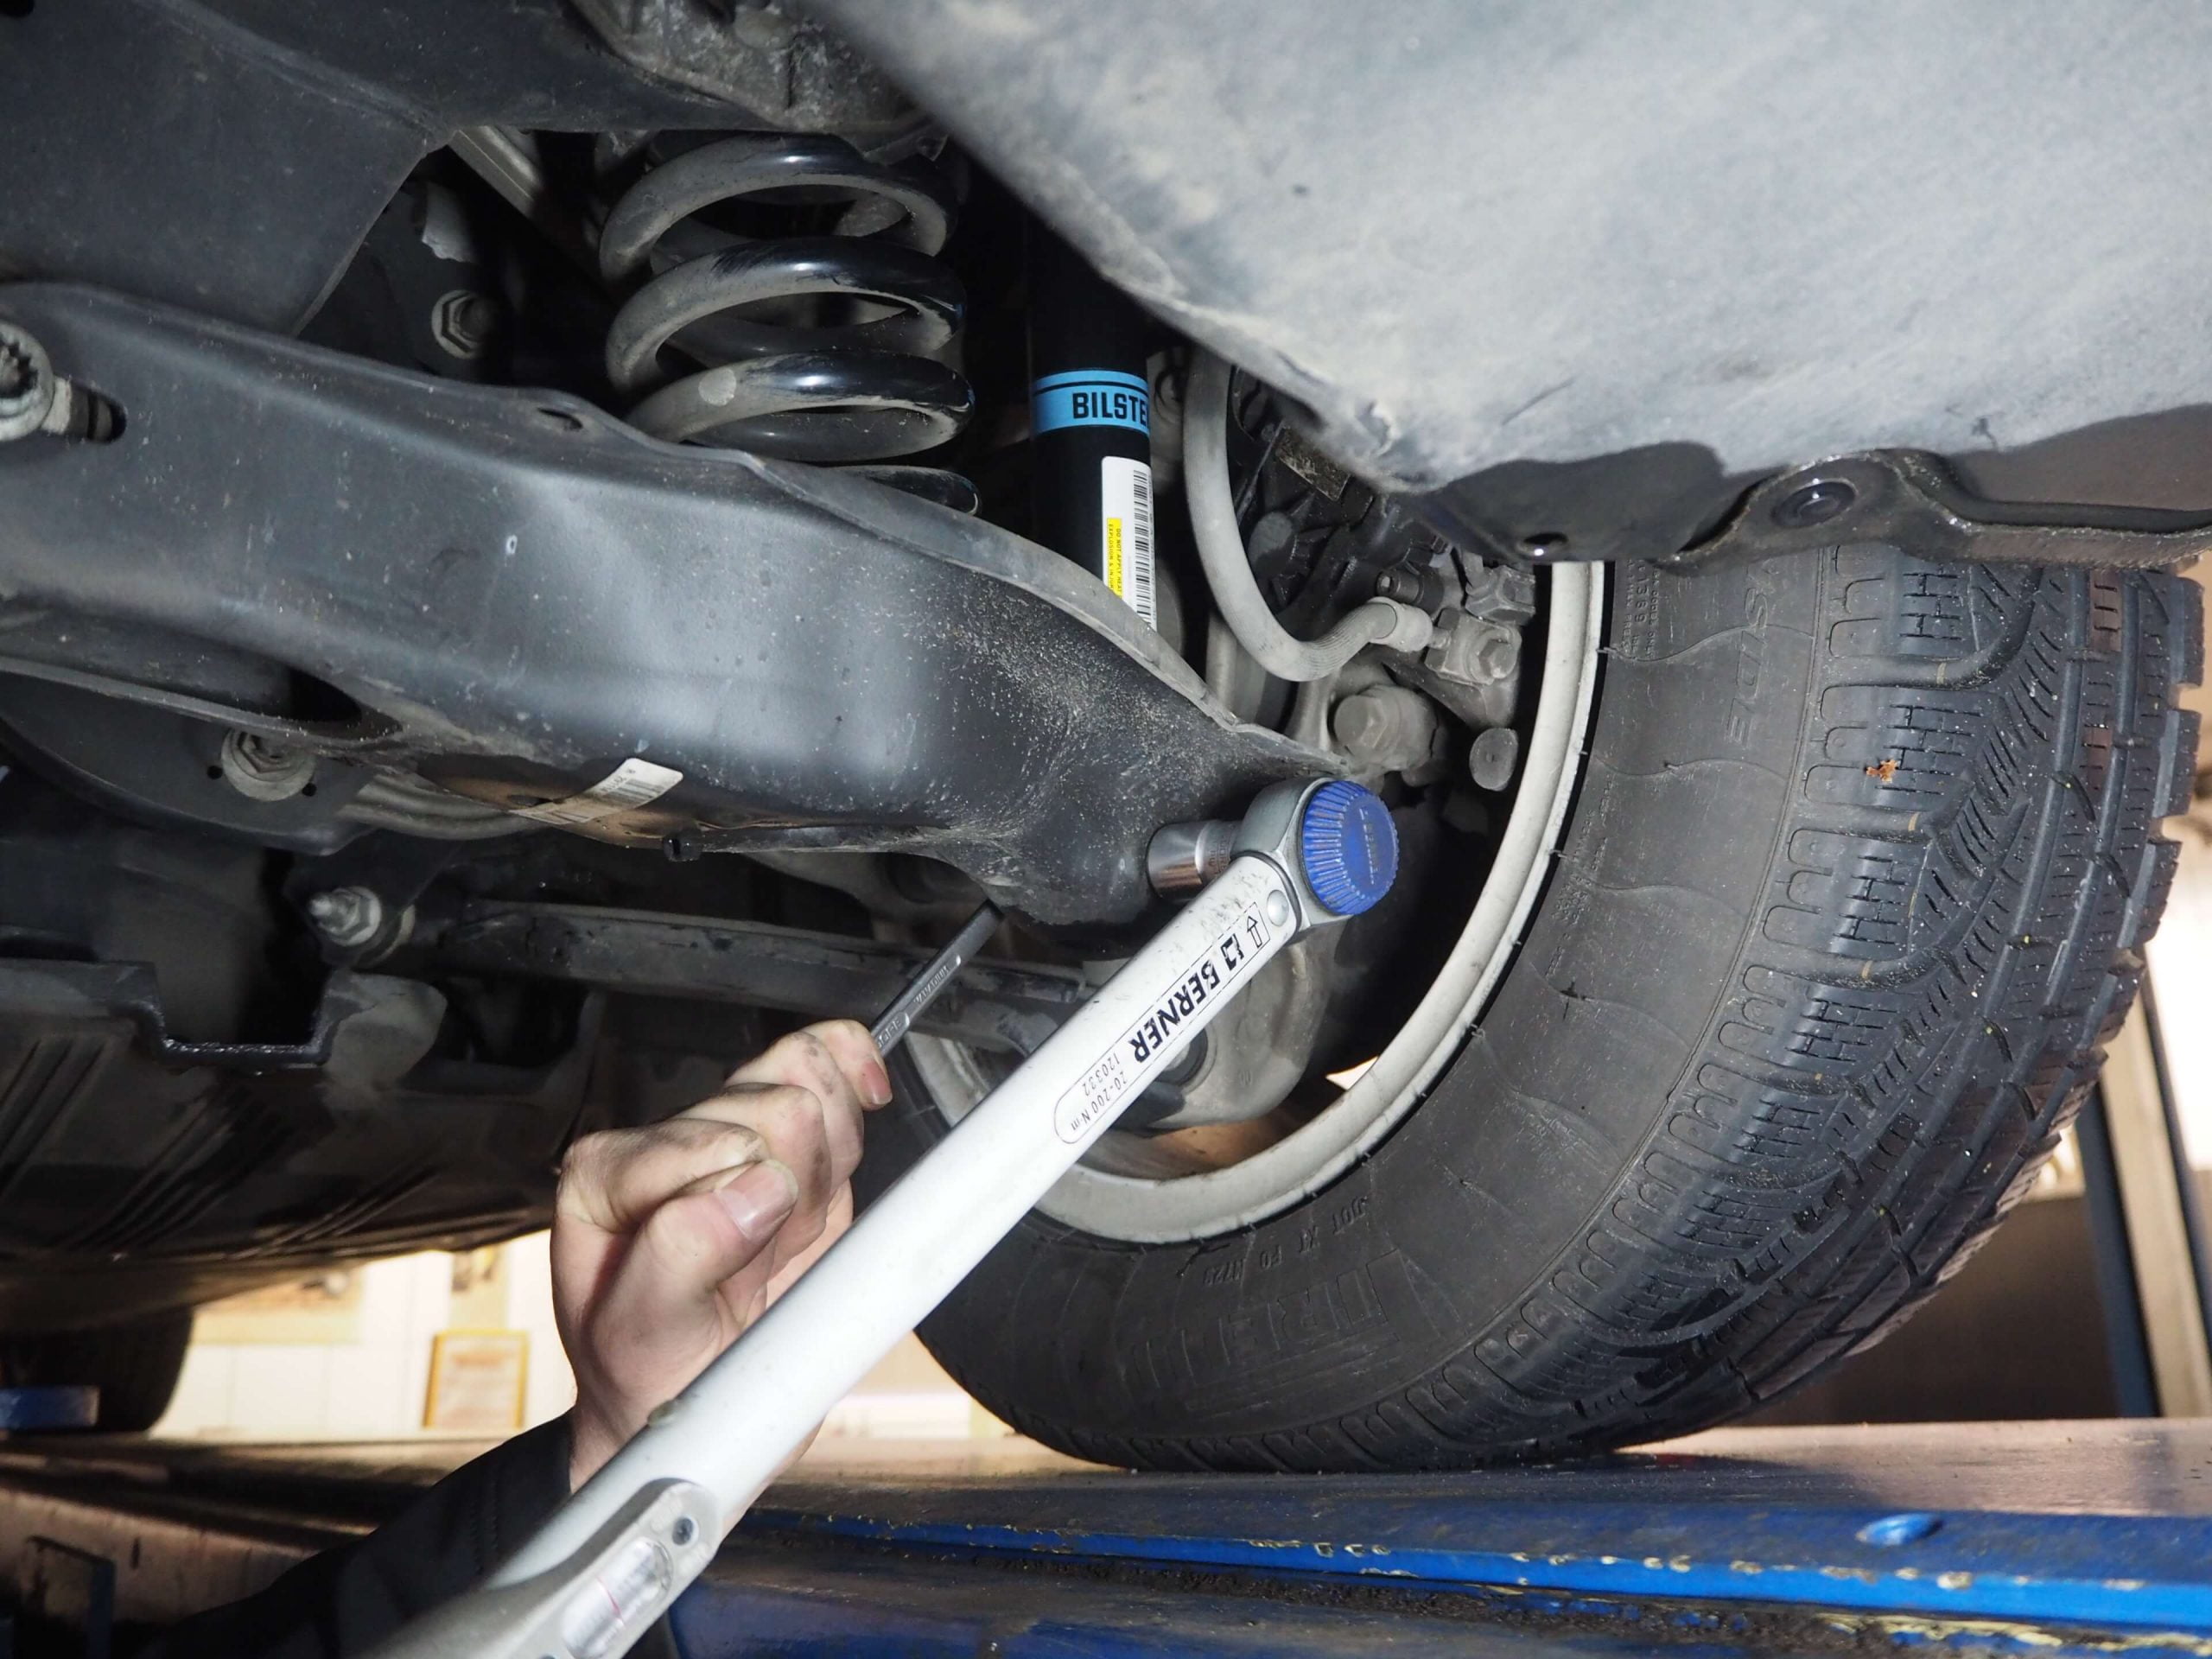
Incorrect tightening torques
Suspension components are often installed with too much or too little tightening torque. This can cause noise, incorrect functions and damage later on.
Correct:
Always tighten suspension components with special tools and the correct tightening torque.
Lowering the vehicle with depressurised air suspension
Often a vehicle with a newly installed air suspension is directly and fully lowered to the ground from the lifting device. That means it rests on the ground with a depressurised air suspension. This damages the air suspension, causing it to fail within a very short time.
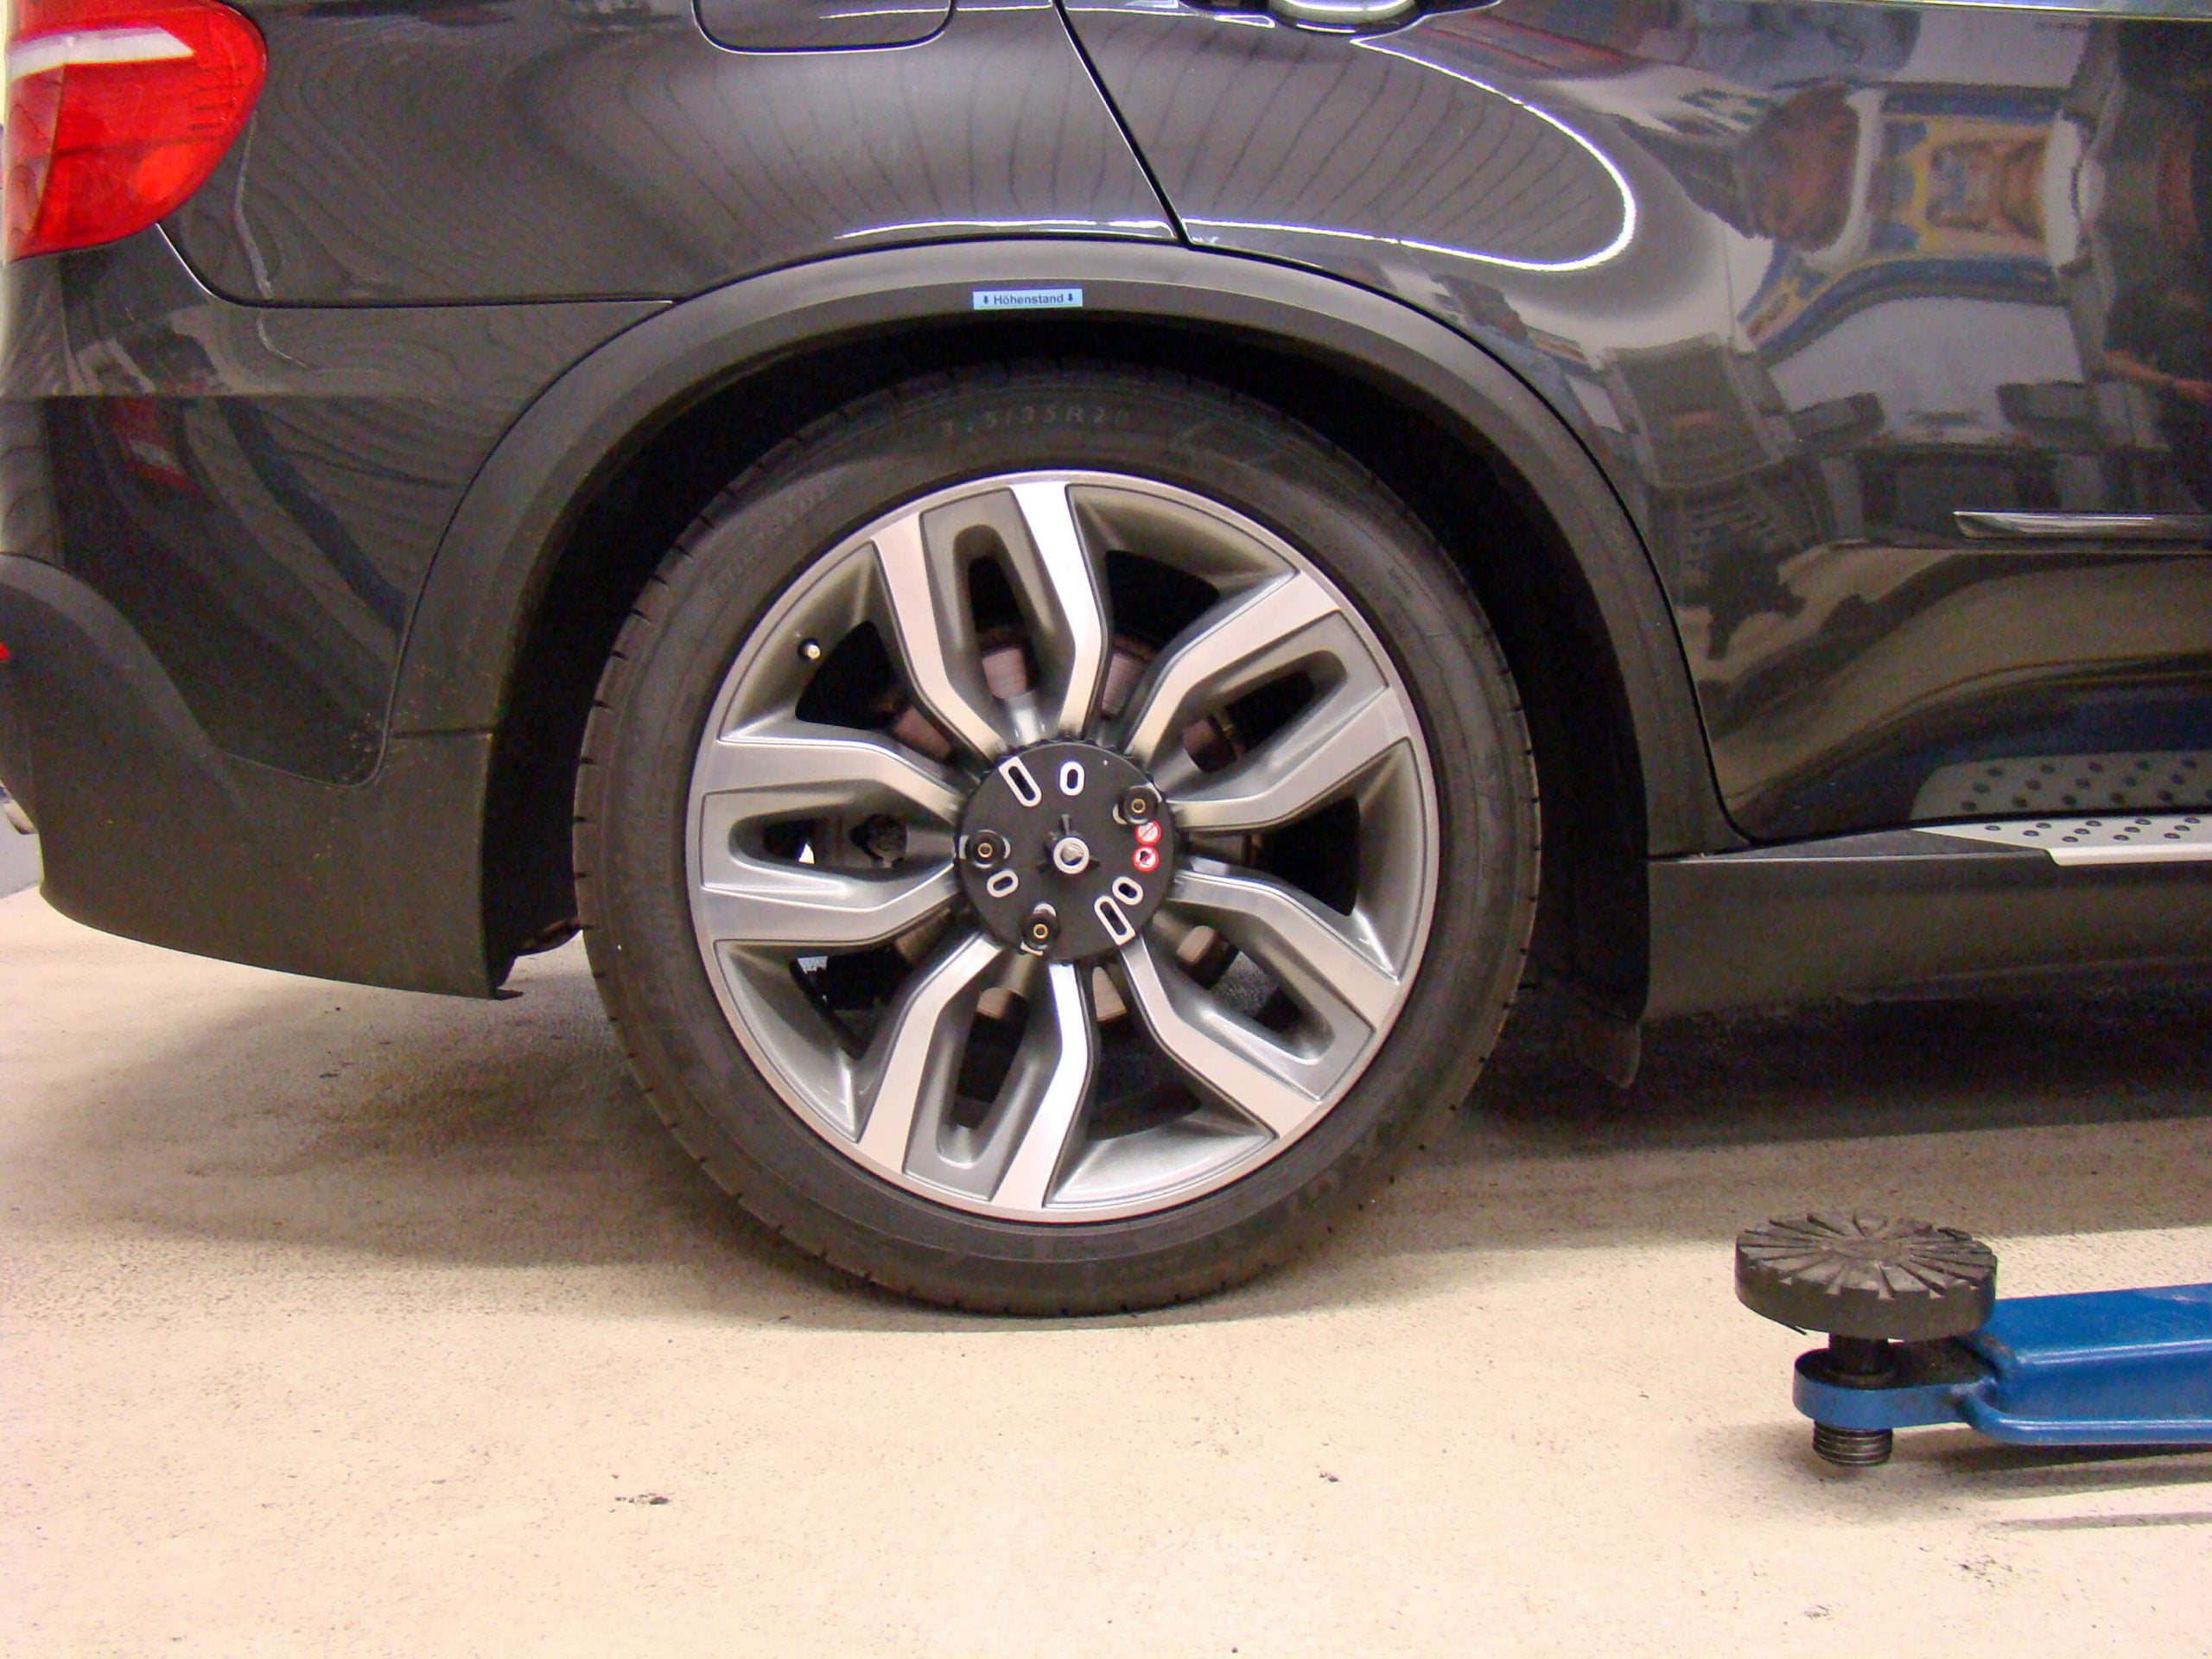
Correct:
Never remove the vehicle from the lifting platform with a depressurised air suspension. Follow the manufacturer’s instructions and use a diagnostic device to drain the air suspension, fill it and read out the error:
https://www.youtube.com/user/BILSTEINde
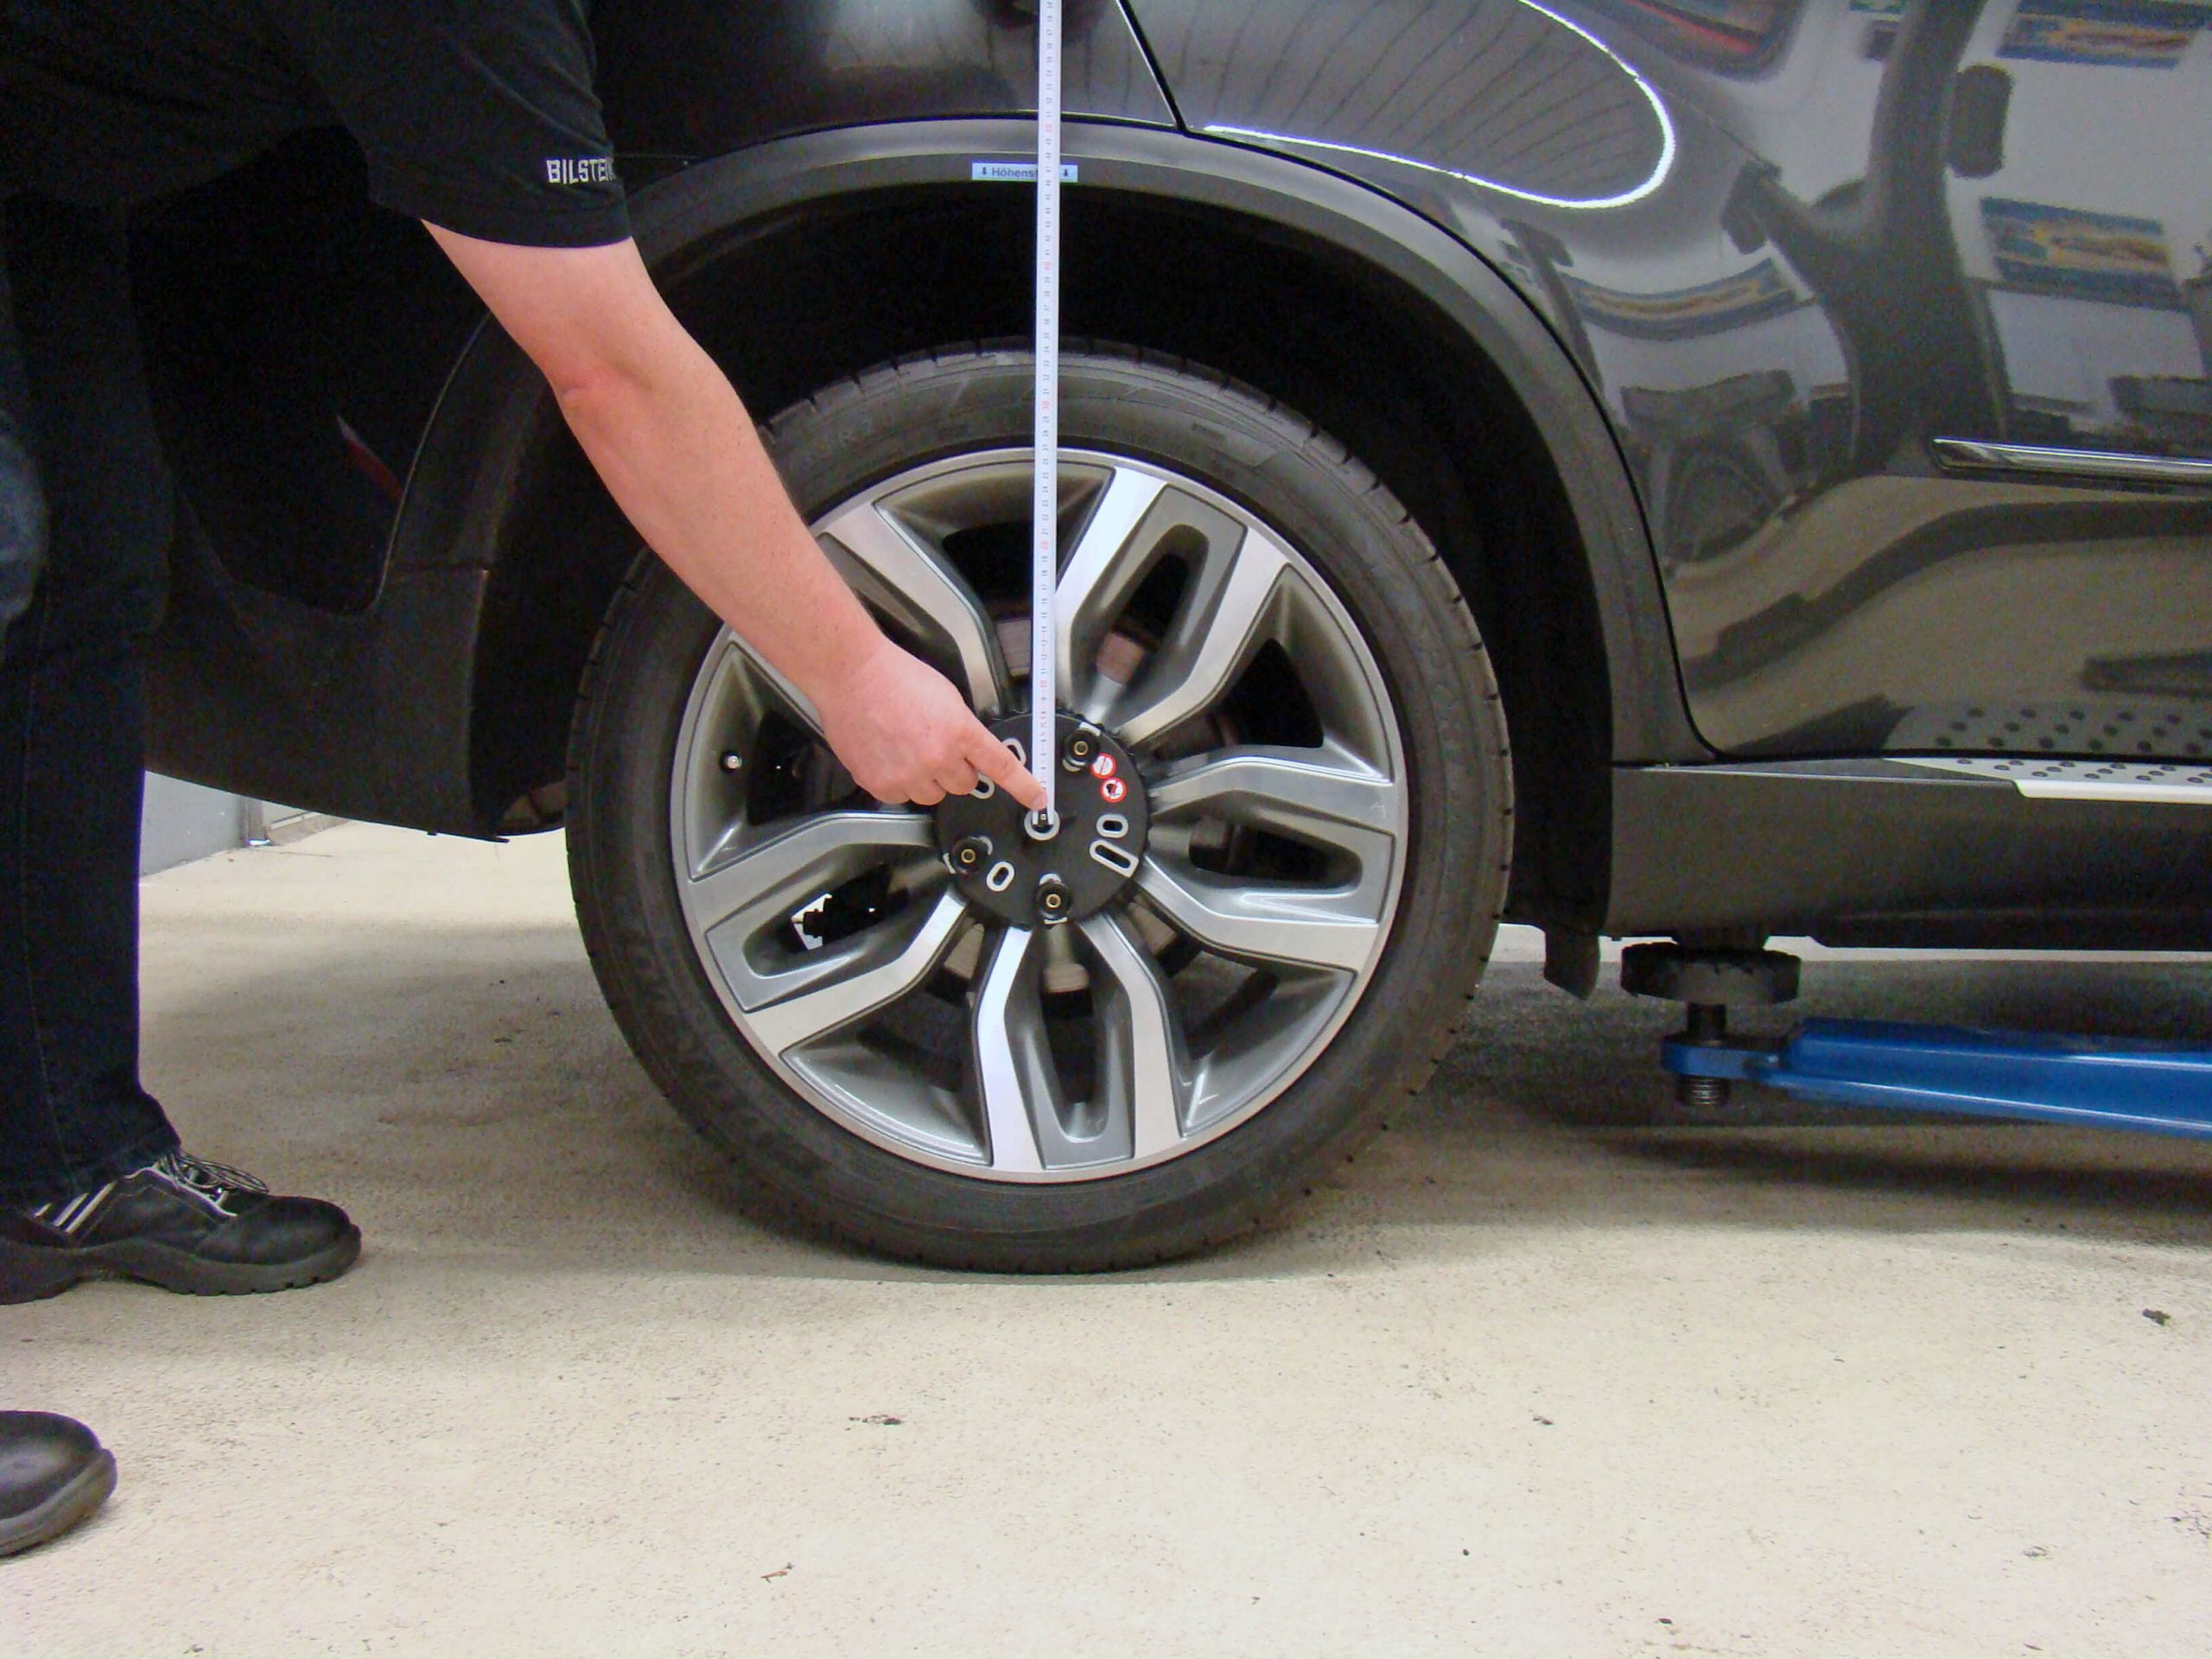
„Tensioned” suspension
If the tension in the suspension components is not relieved when changing the ride height of the vehicle the suspension can become “tensioned”. This often creates a less than ideal driving behaviour, fails to achieve the expected lowering and results in faster wear of the rubber-metal connections.

Correct:
After lowering or increasing the ride height of the vehicle, all suspension components have to be adapted to the new vehicle height. To do this, simply disconnect all rubber-metal connections of the vehicle, move it and then tighten all suspension components in the new position with the defined torque on the 4-column/scissor lift.
No complete check/replacement of all suspension parts
Often not all suspension components are checked and replaced as necessary, e.g. spring, support bearing, compression stops, protective tubes, suspension electronics, compressors, etc.
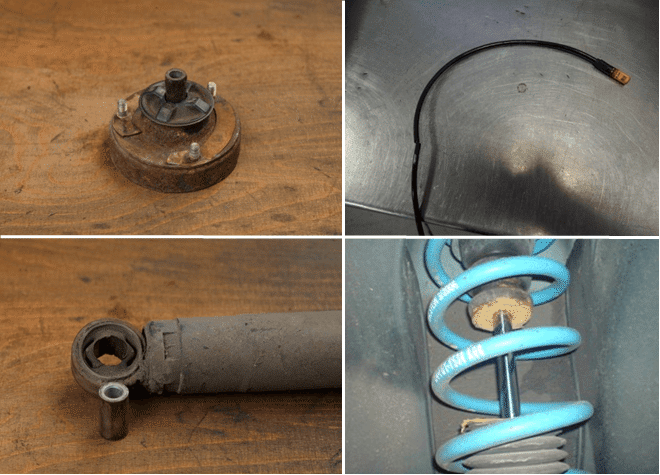
Correct:
Check all components and replace them if necessary. On vehicles with air suspension, the compressor unit with relay as well as the compressed air lines should also be checked.
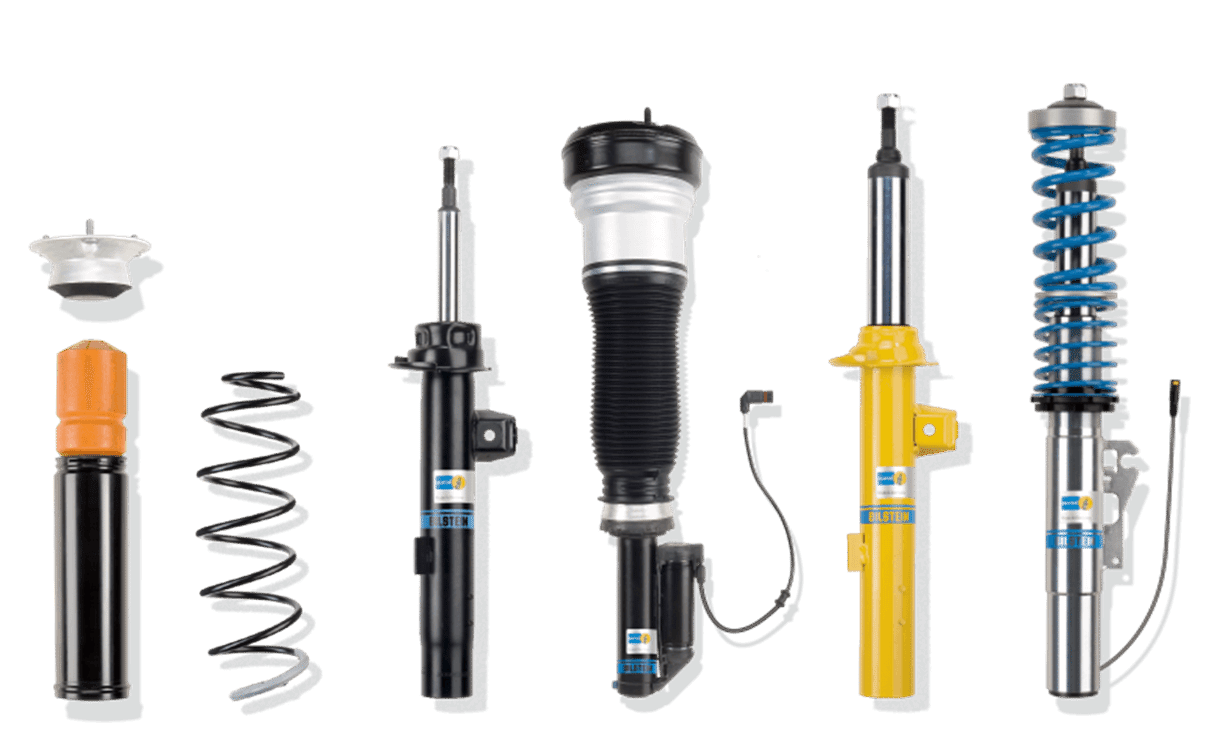
Incorrect height set on the spring plate on coilover suspensions
The wrong height for the spring plate can result in the spring having no pre-tension. On systems with a side load spring the spring can become stuck or fall out. The shock absorber goes into the compression stop, has higher wear on the buffer and does not allow sufficient bump travel. (This also has to be considered for MOTs.) If the spring plate is set too high, the shock absorber goes into the rebound buffer and has too little rebound travel. There is a risk of the spring blocking. The result of incorrect spring plate height: less than ideal driving behaviour.
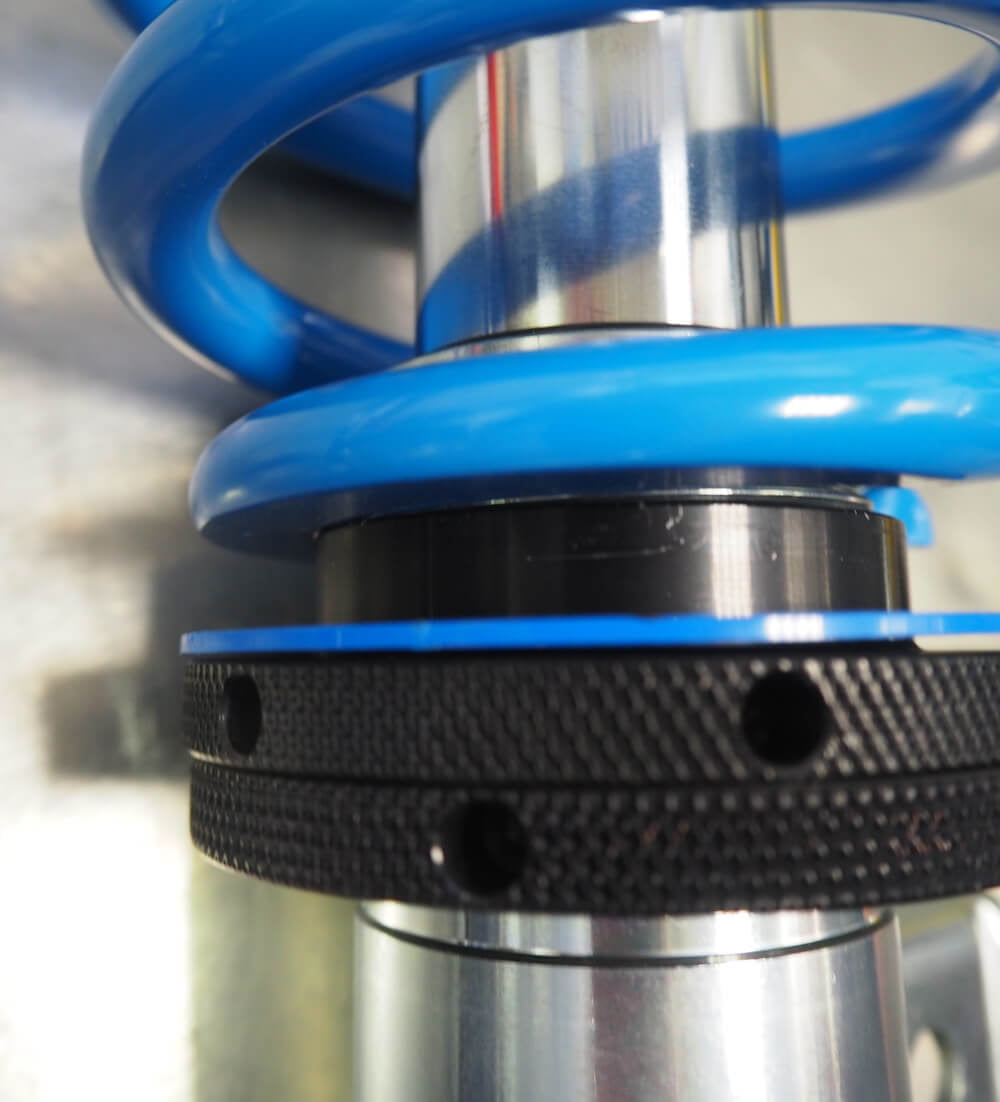
Correct:
The spring plate height can be changed on coilover suspensions, but only within a certain range. The data are indicated on the certificate and must be adhered to.
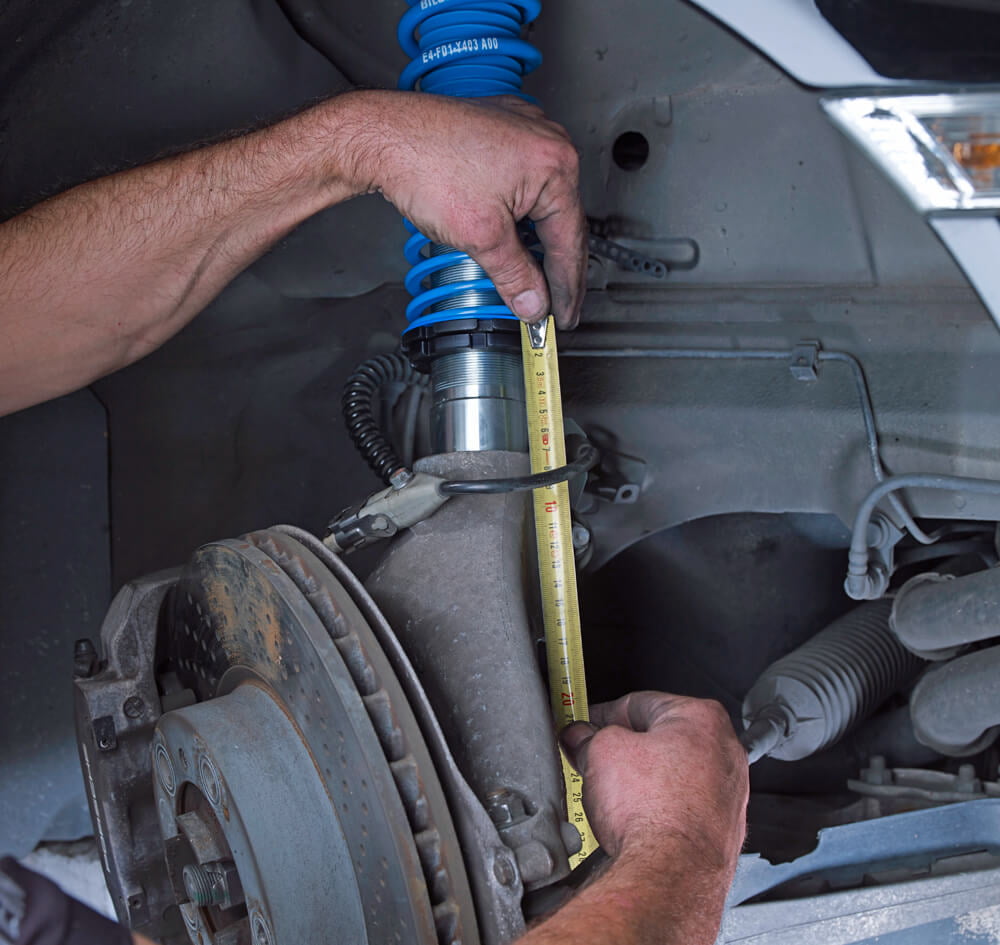
Incorrect installation of attachment parts
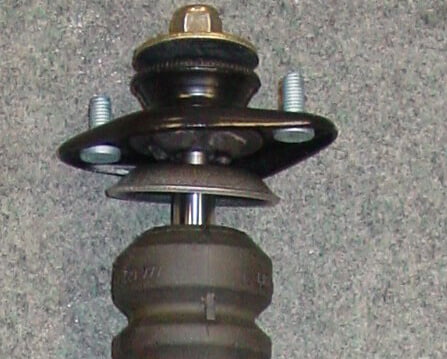
Attachment parts are often installed incorrectly or not at all (e.g. spring plates, bushings, etc.). A missing support washer on a suspension strut bearing, for example, can damage the vehicle or the suspension.
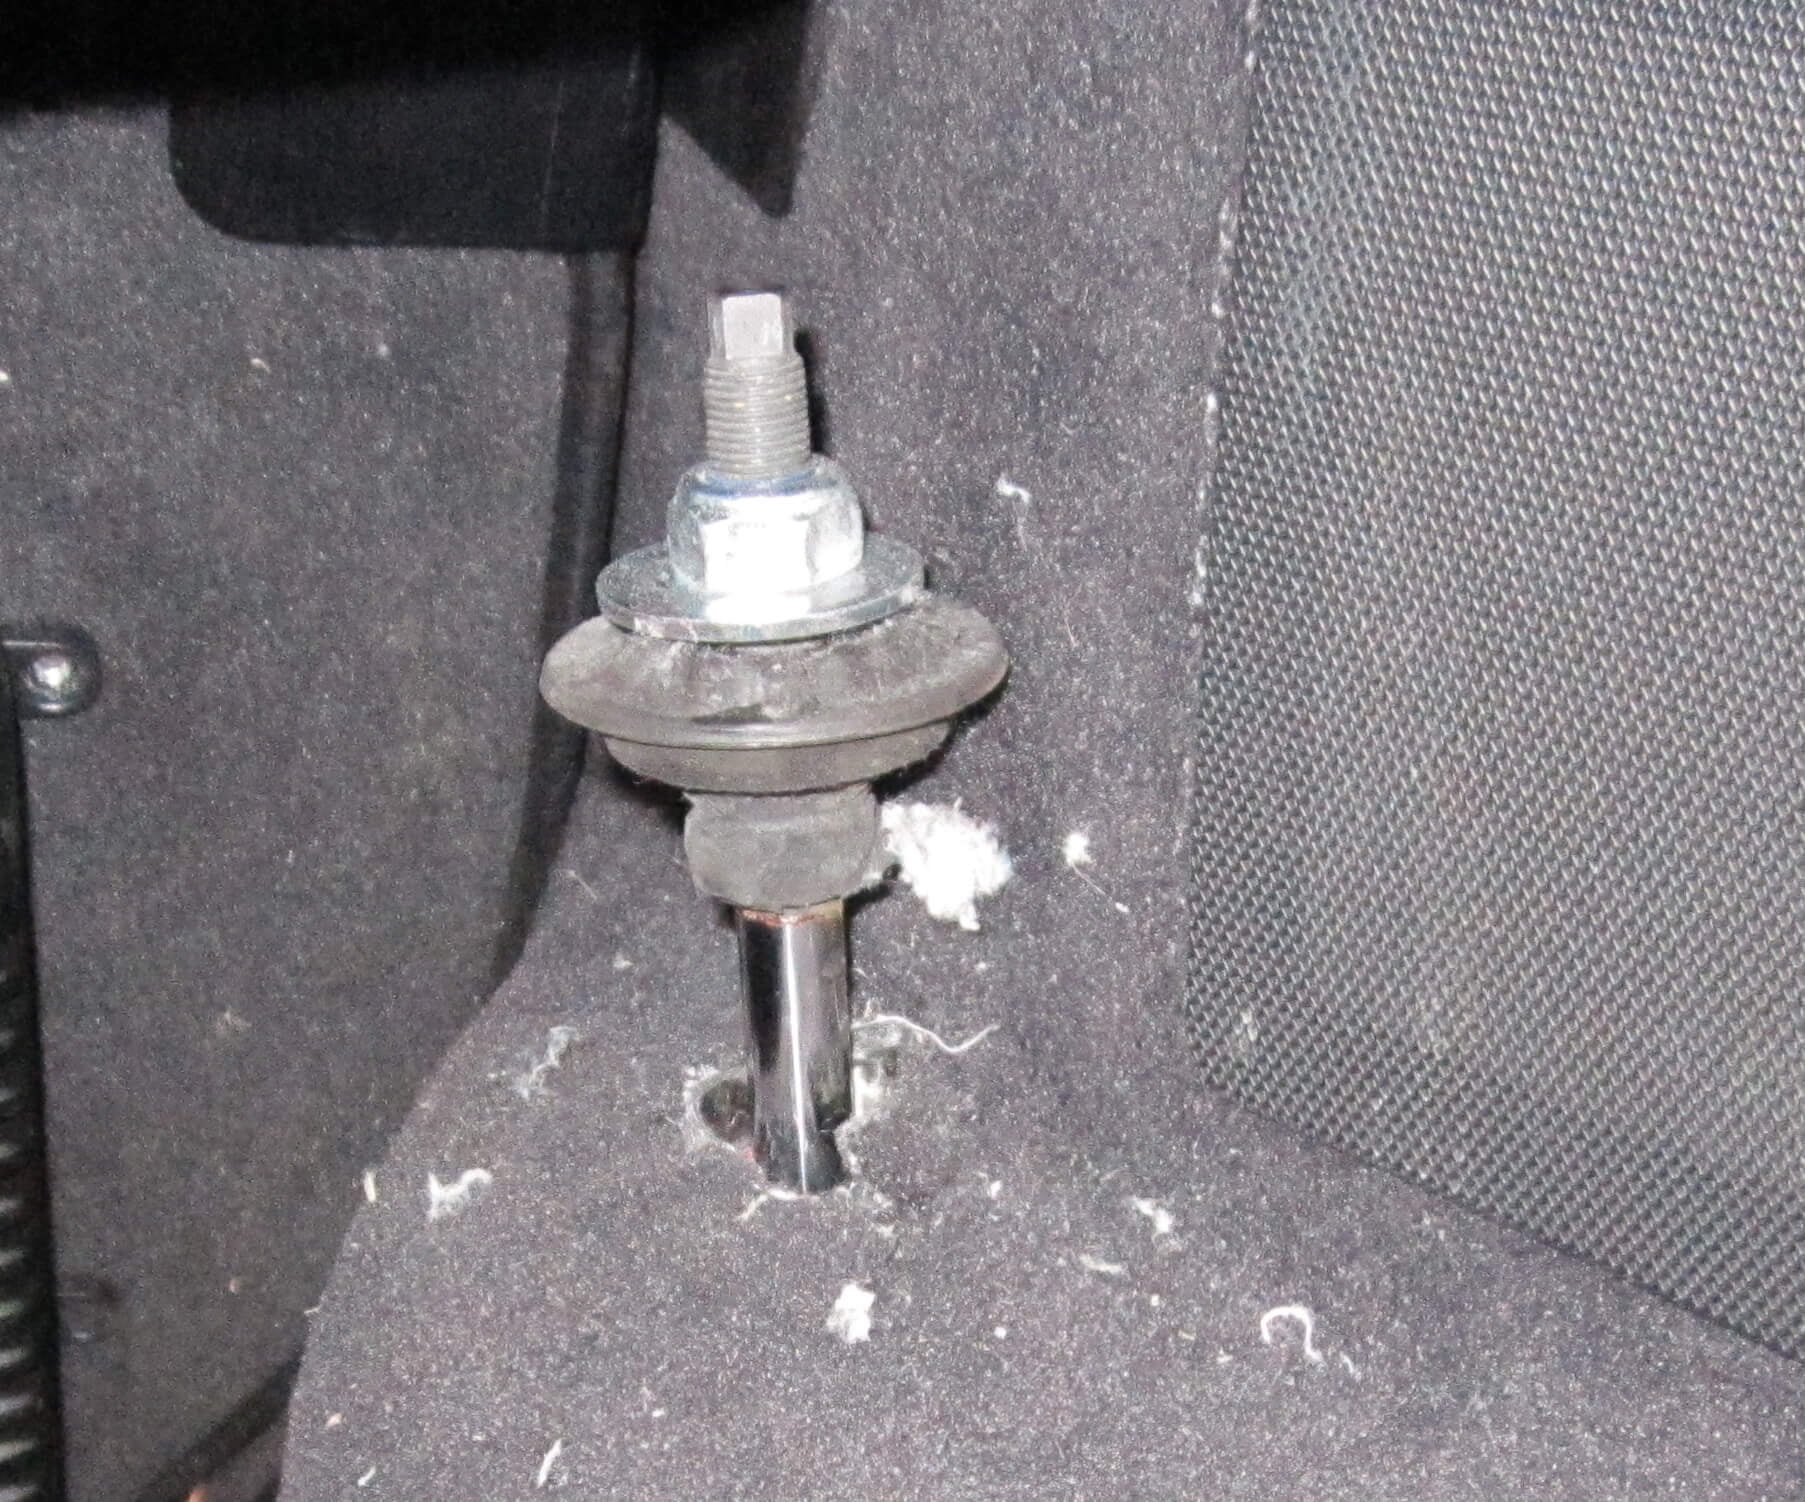
Correct:
Shock absorbers include several attachment parts. These have to be installed correctly to ensure the proper function of the shock absorber.
Wrong items ordered
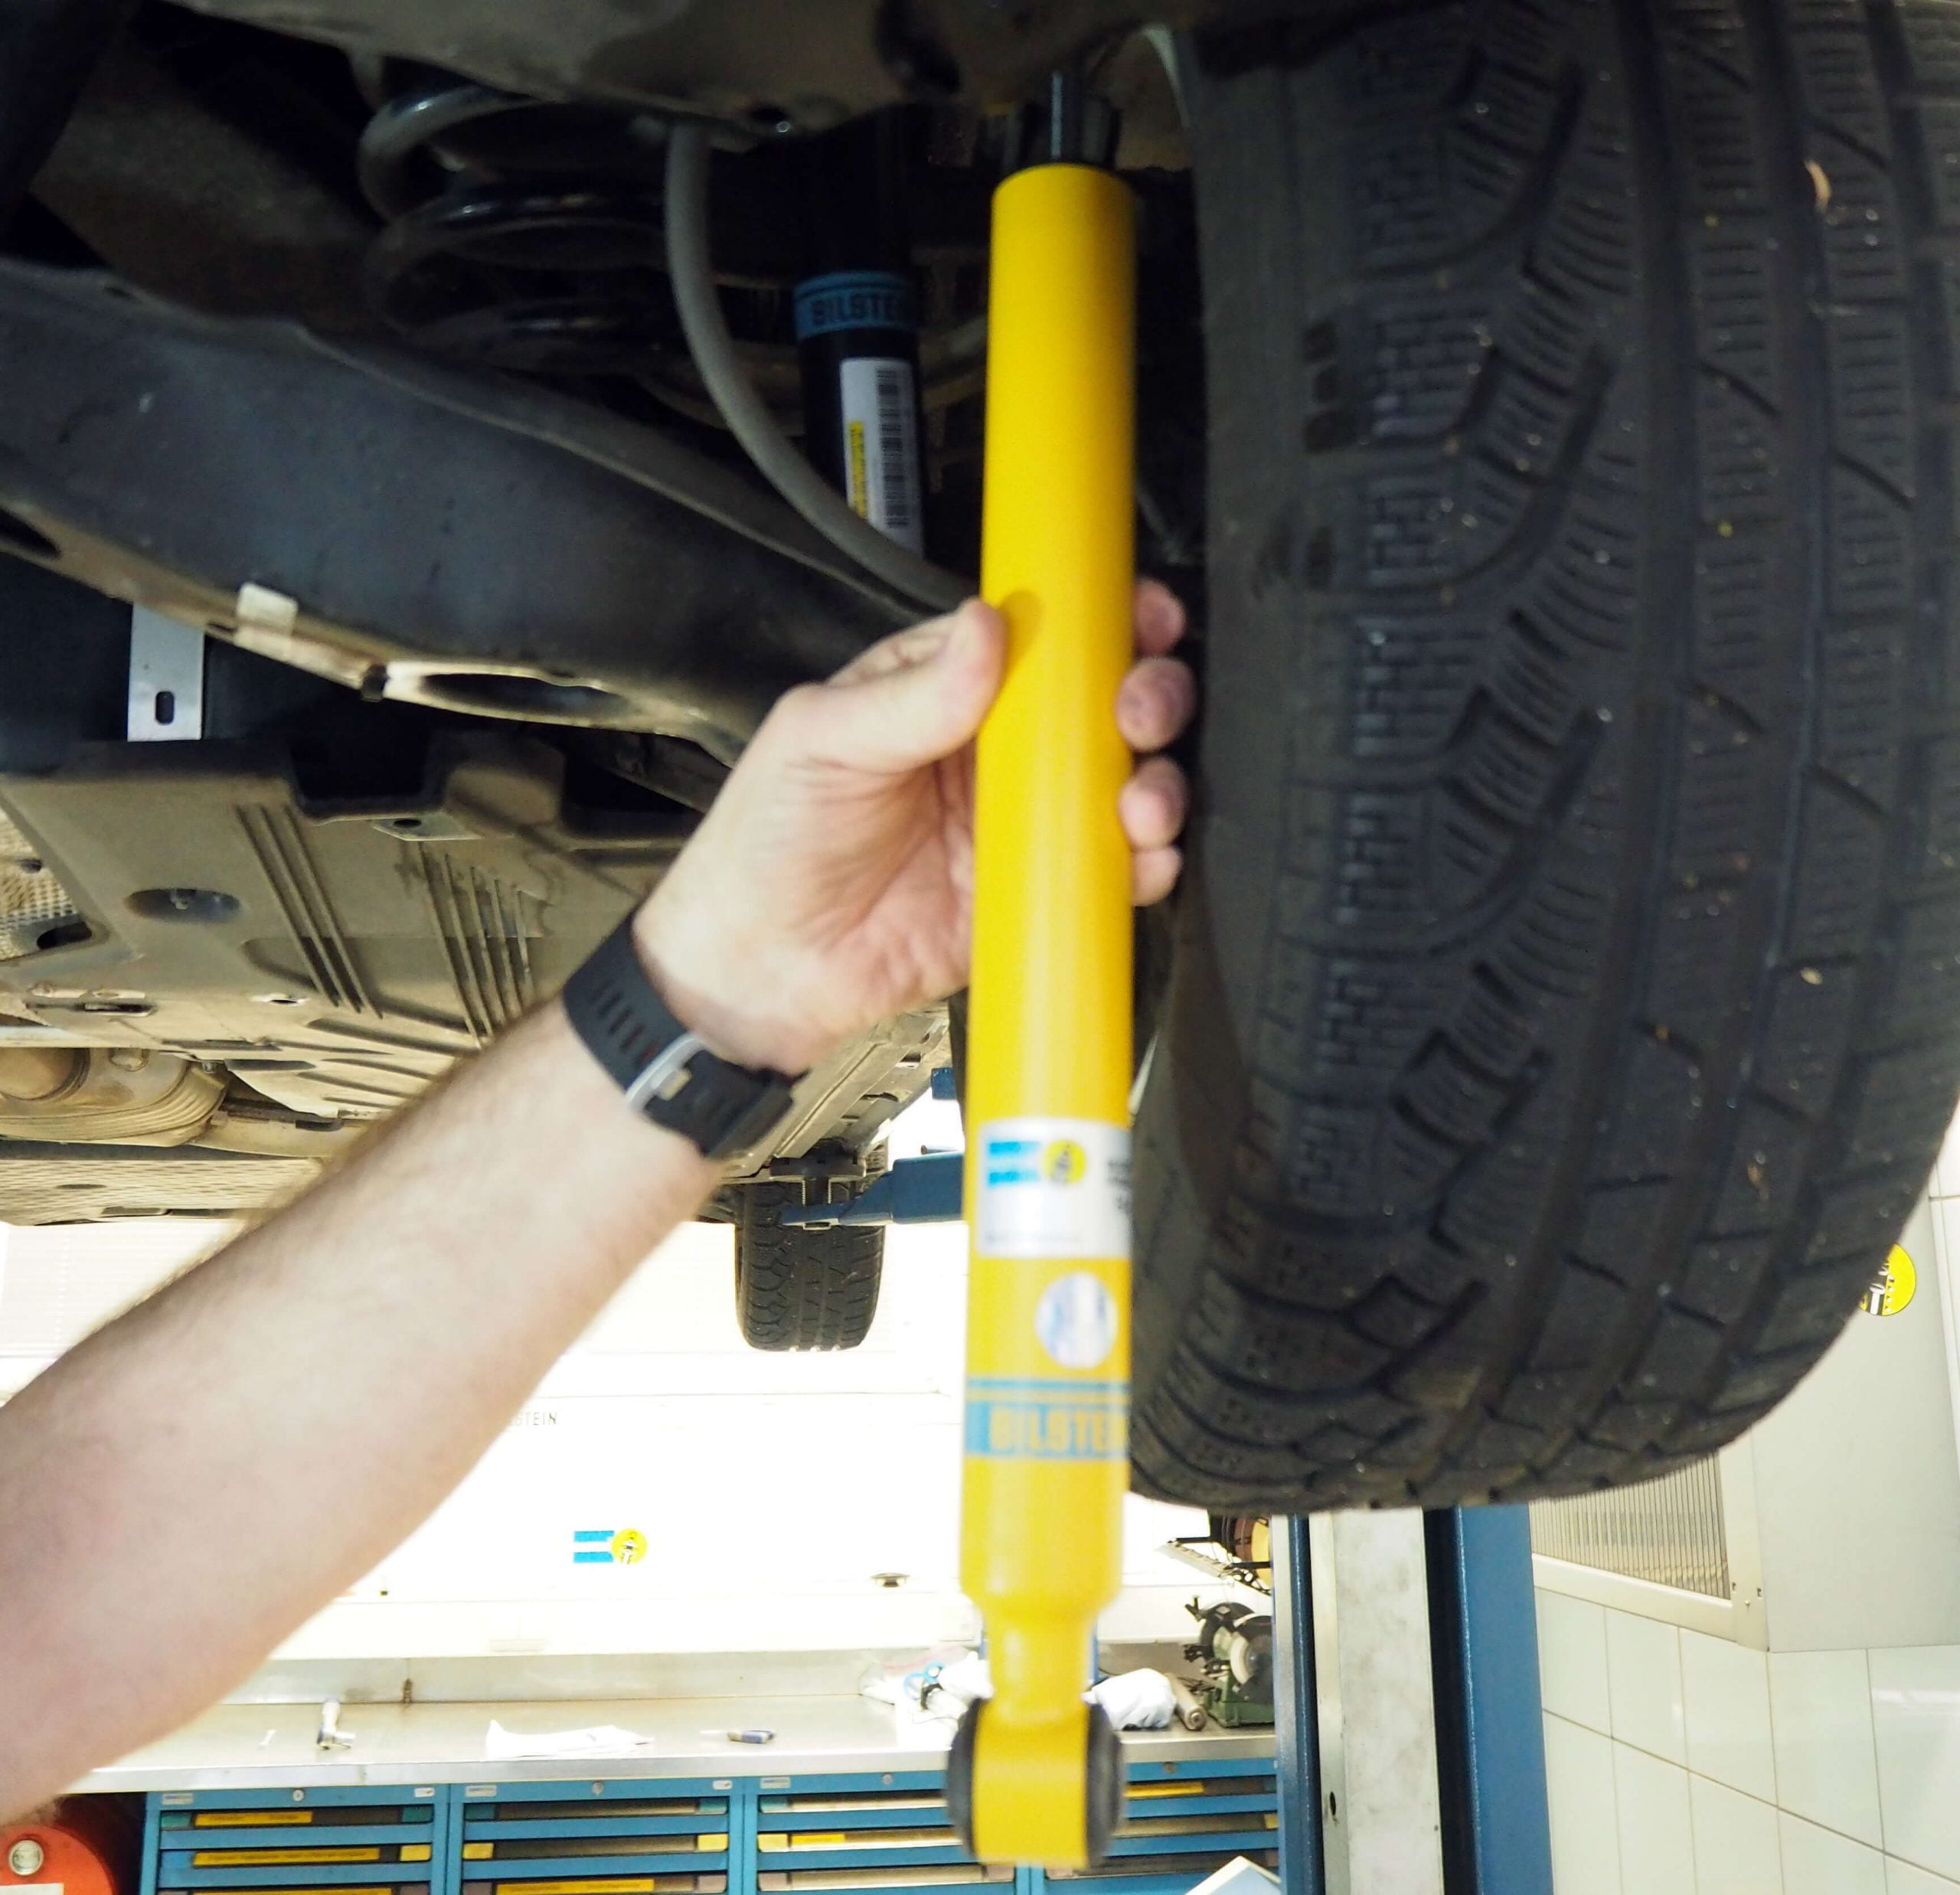
Sometimes the wrong items are ordered for a vehicle and then also allocated incorrectly. Please remember: a Golf is not just a Golf and a Mercedes is not just a Mercedes.
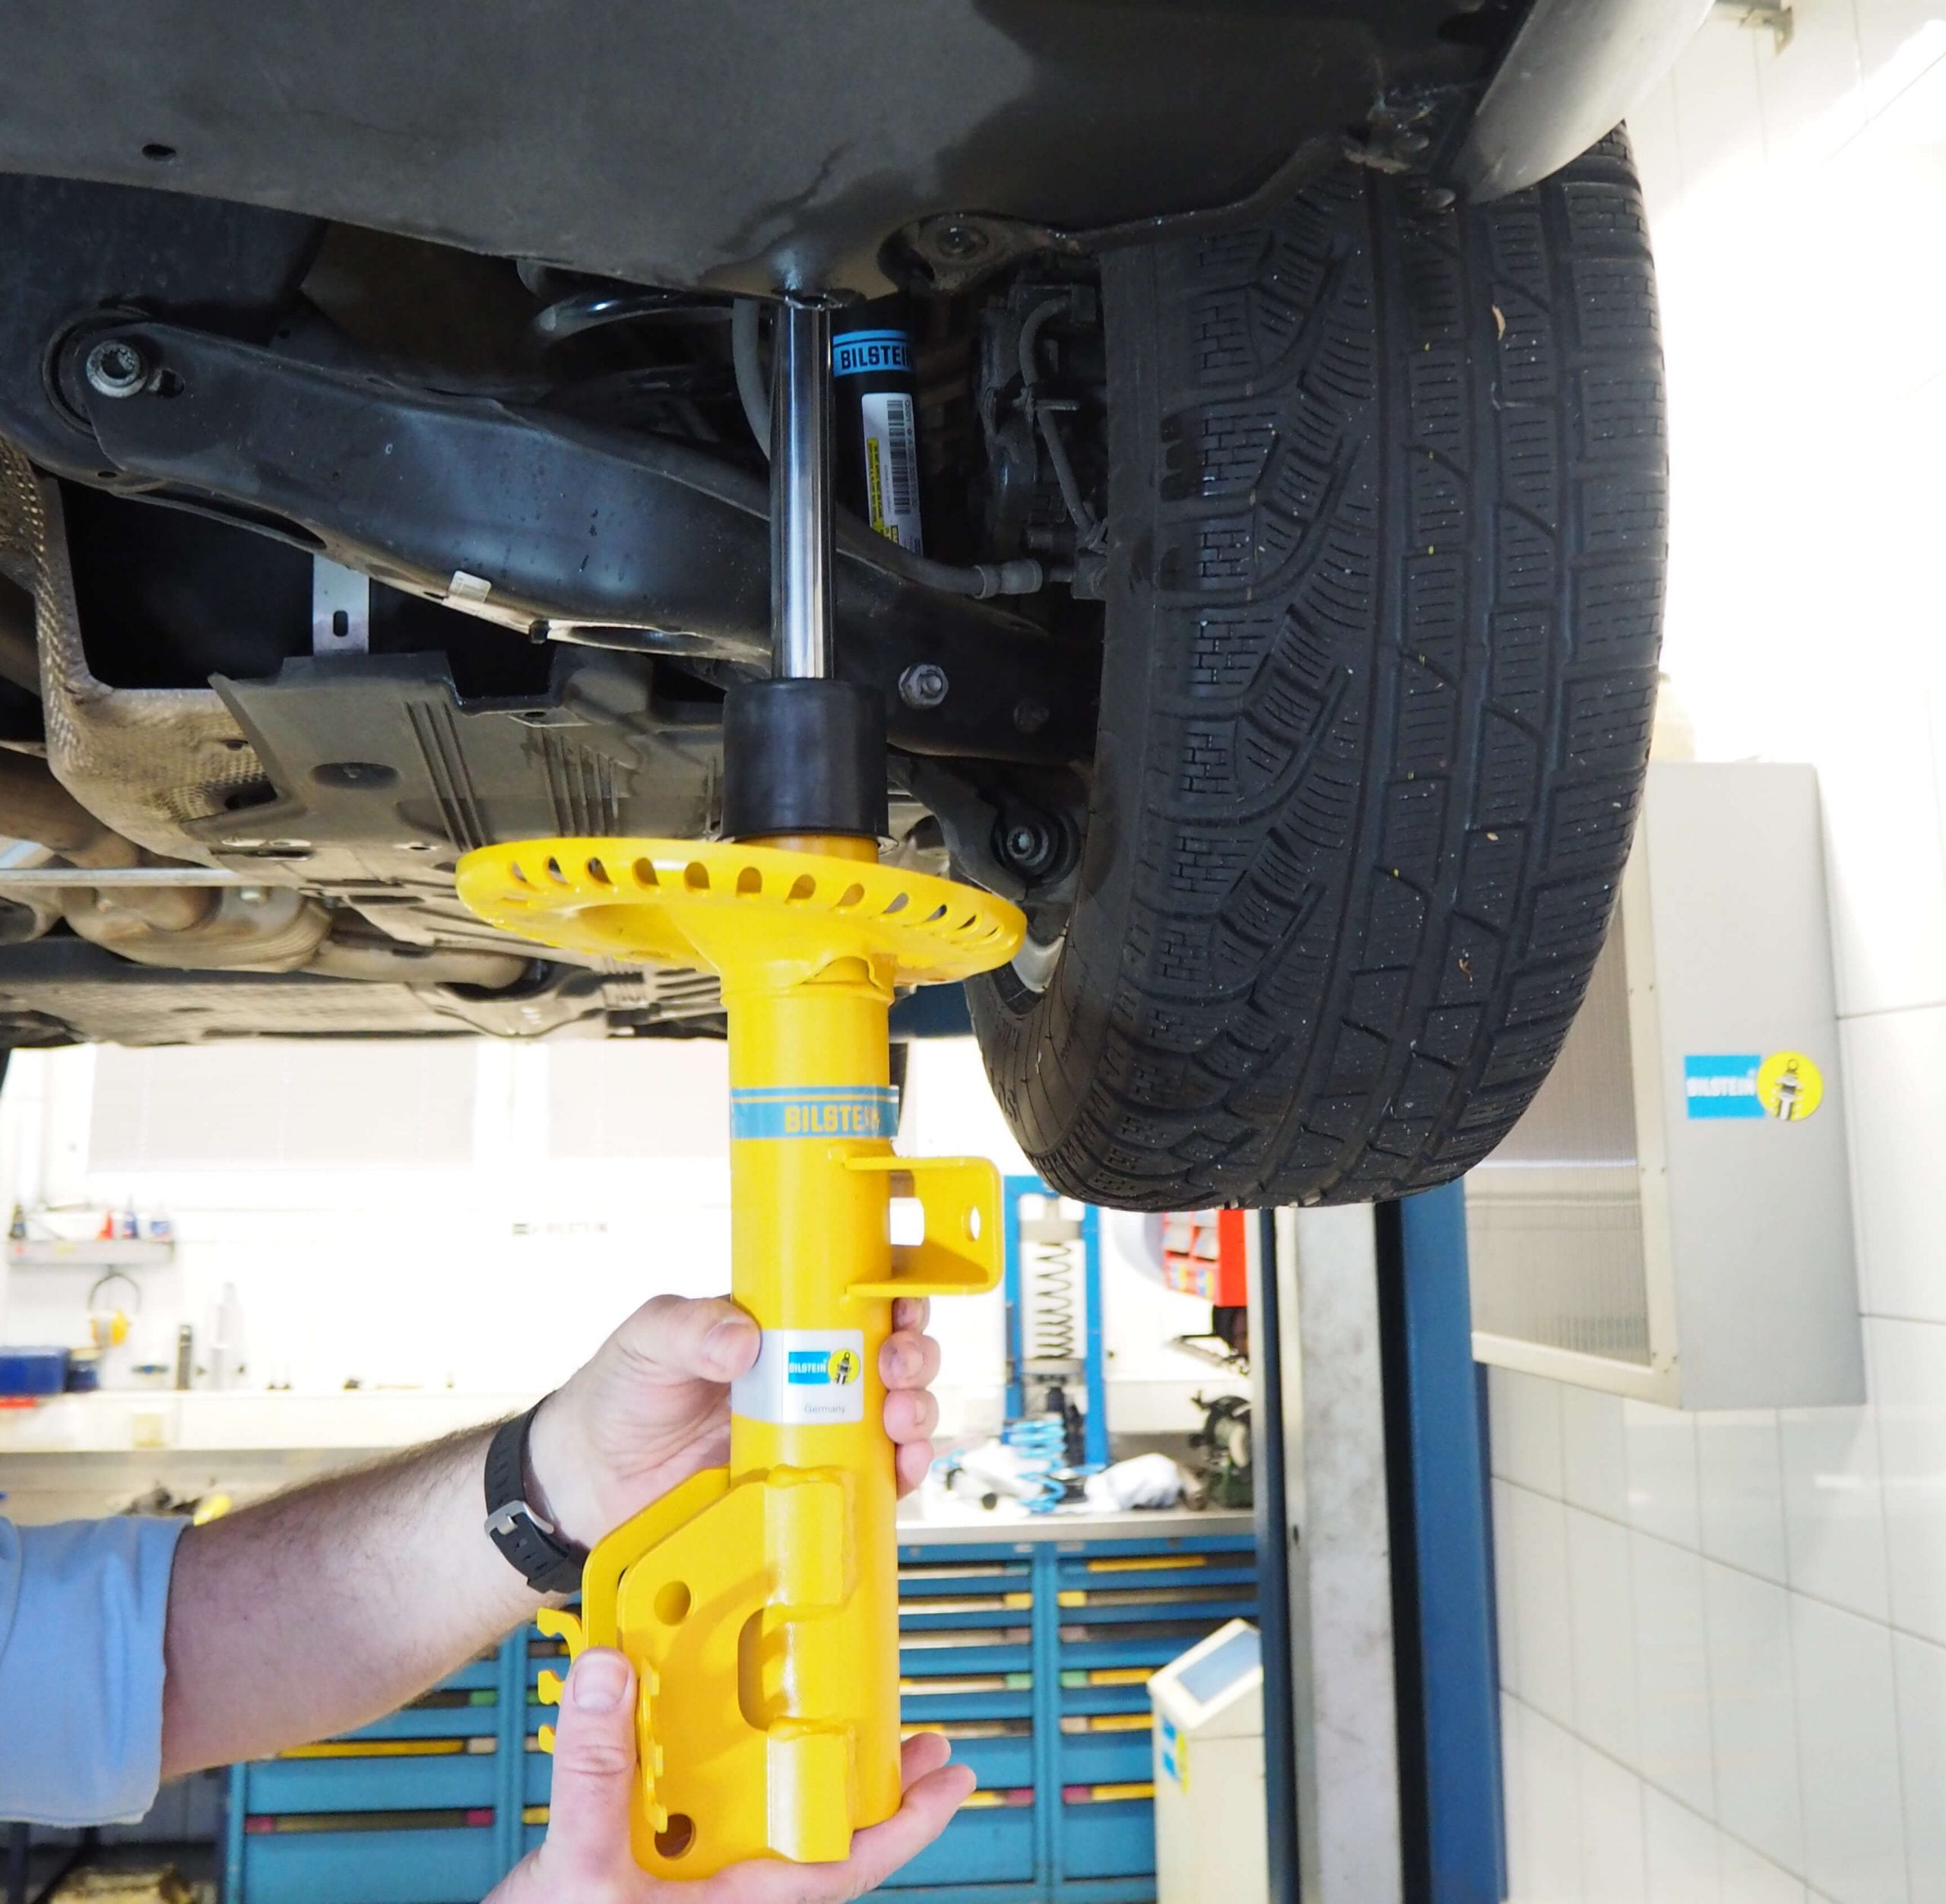
Correct:
The required items have to be located in the catalogues or parts systems of the dealers. Correct allocation is crucial. Make sure to note the correct engine version etc. The BILSTEIN online catalogue provides help for correct allocation. In addition, always compare the items before each installation.
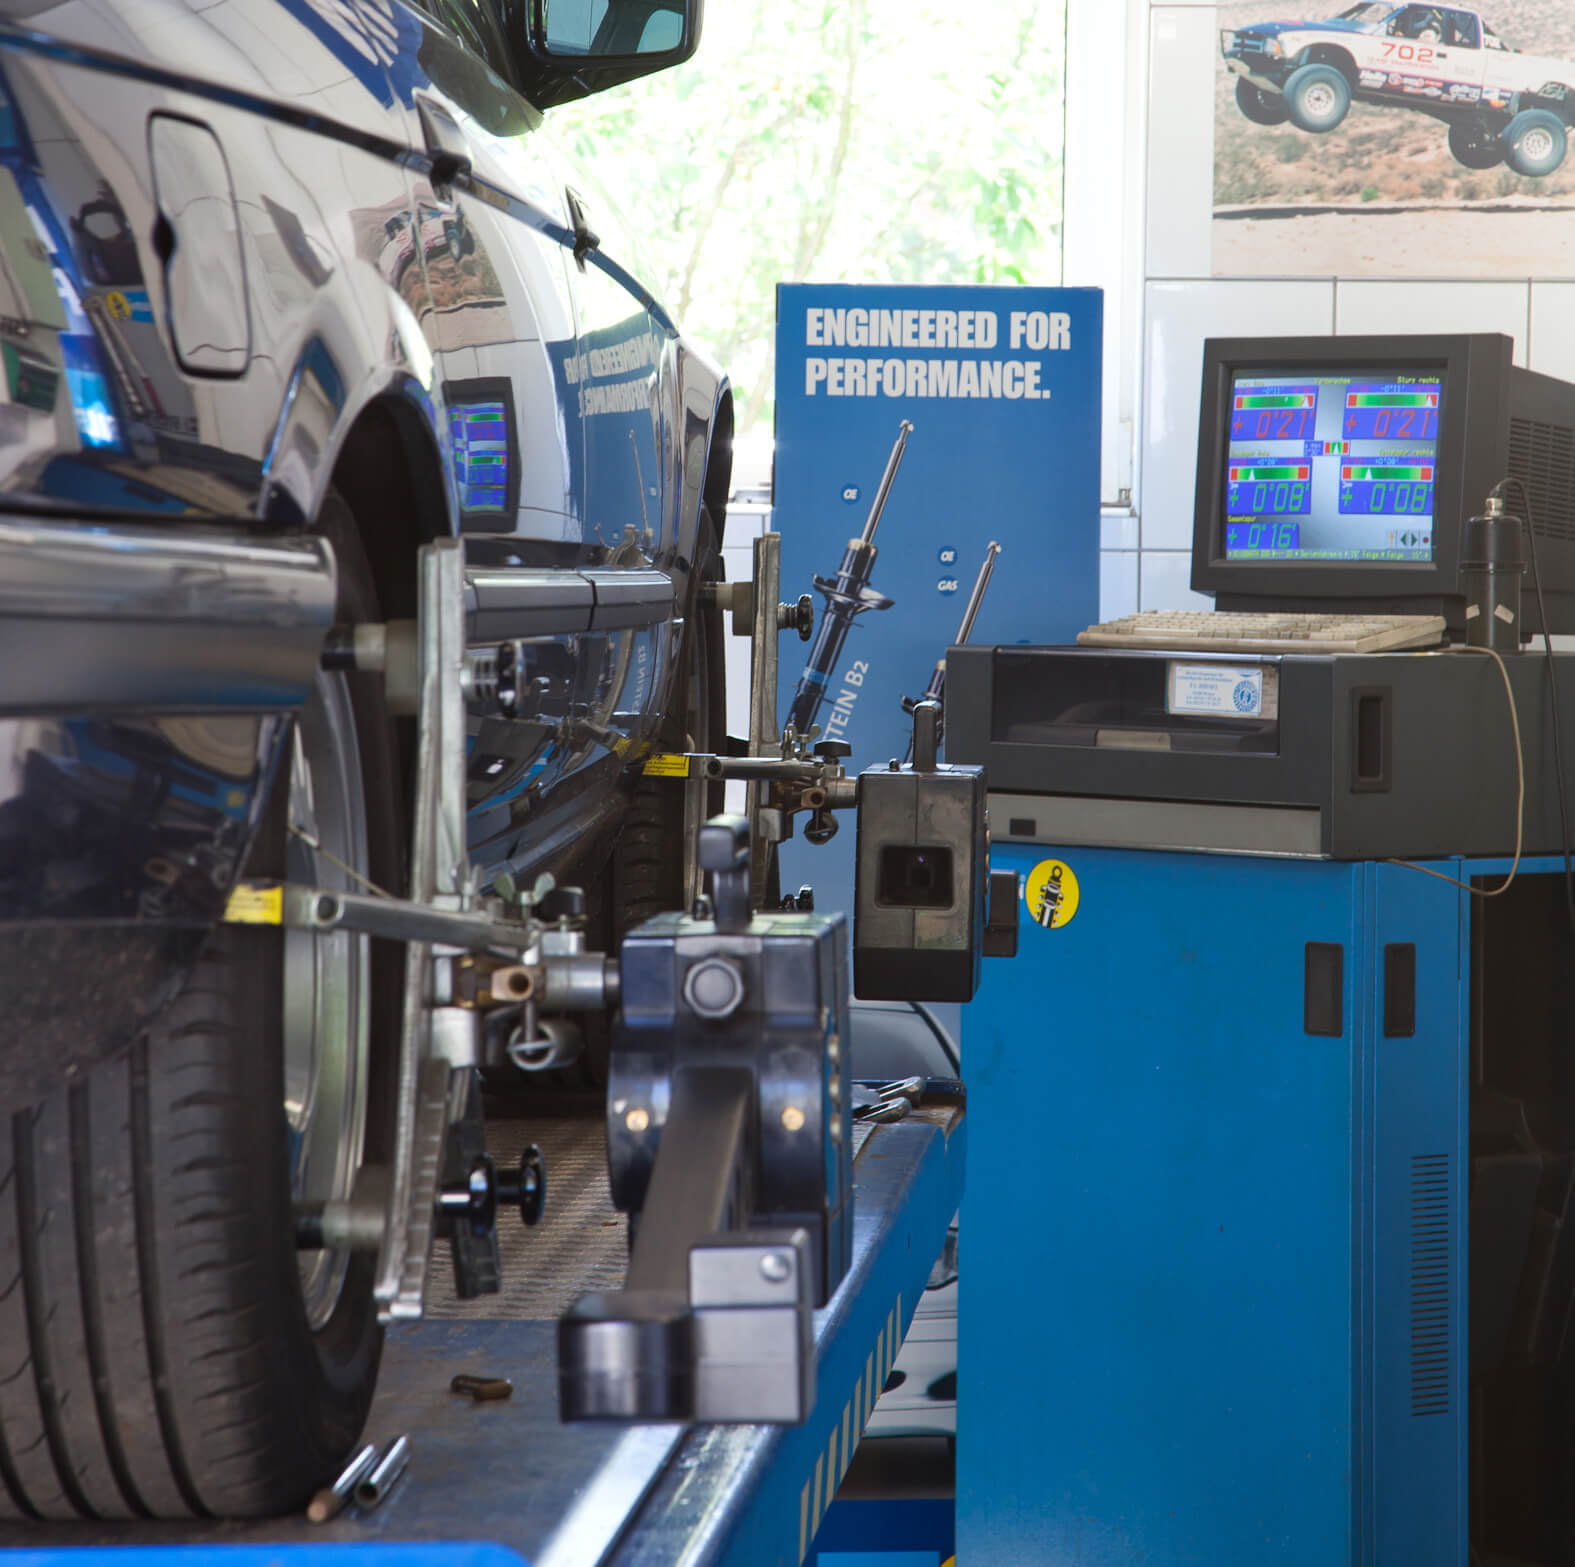
Axle geometry not checked
Mechanics often forget to check the axle geometry of the vehicle after replacing the suspension components. Incorrect axle geometry results in poor driving behaviour and excessive wear on the suspension components.
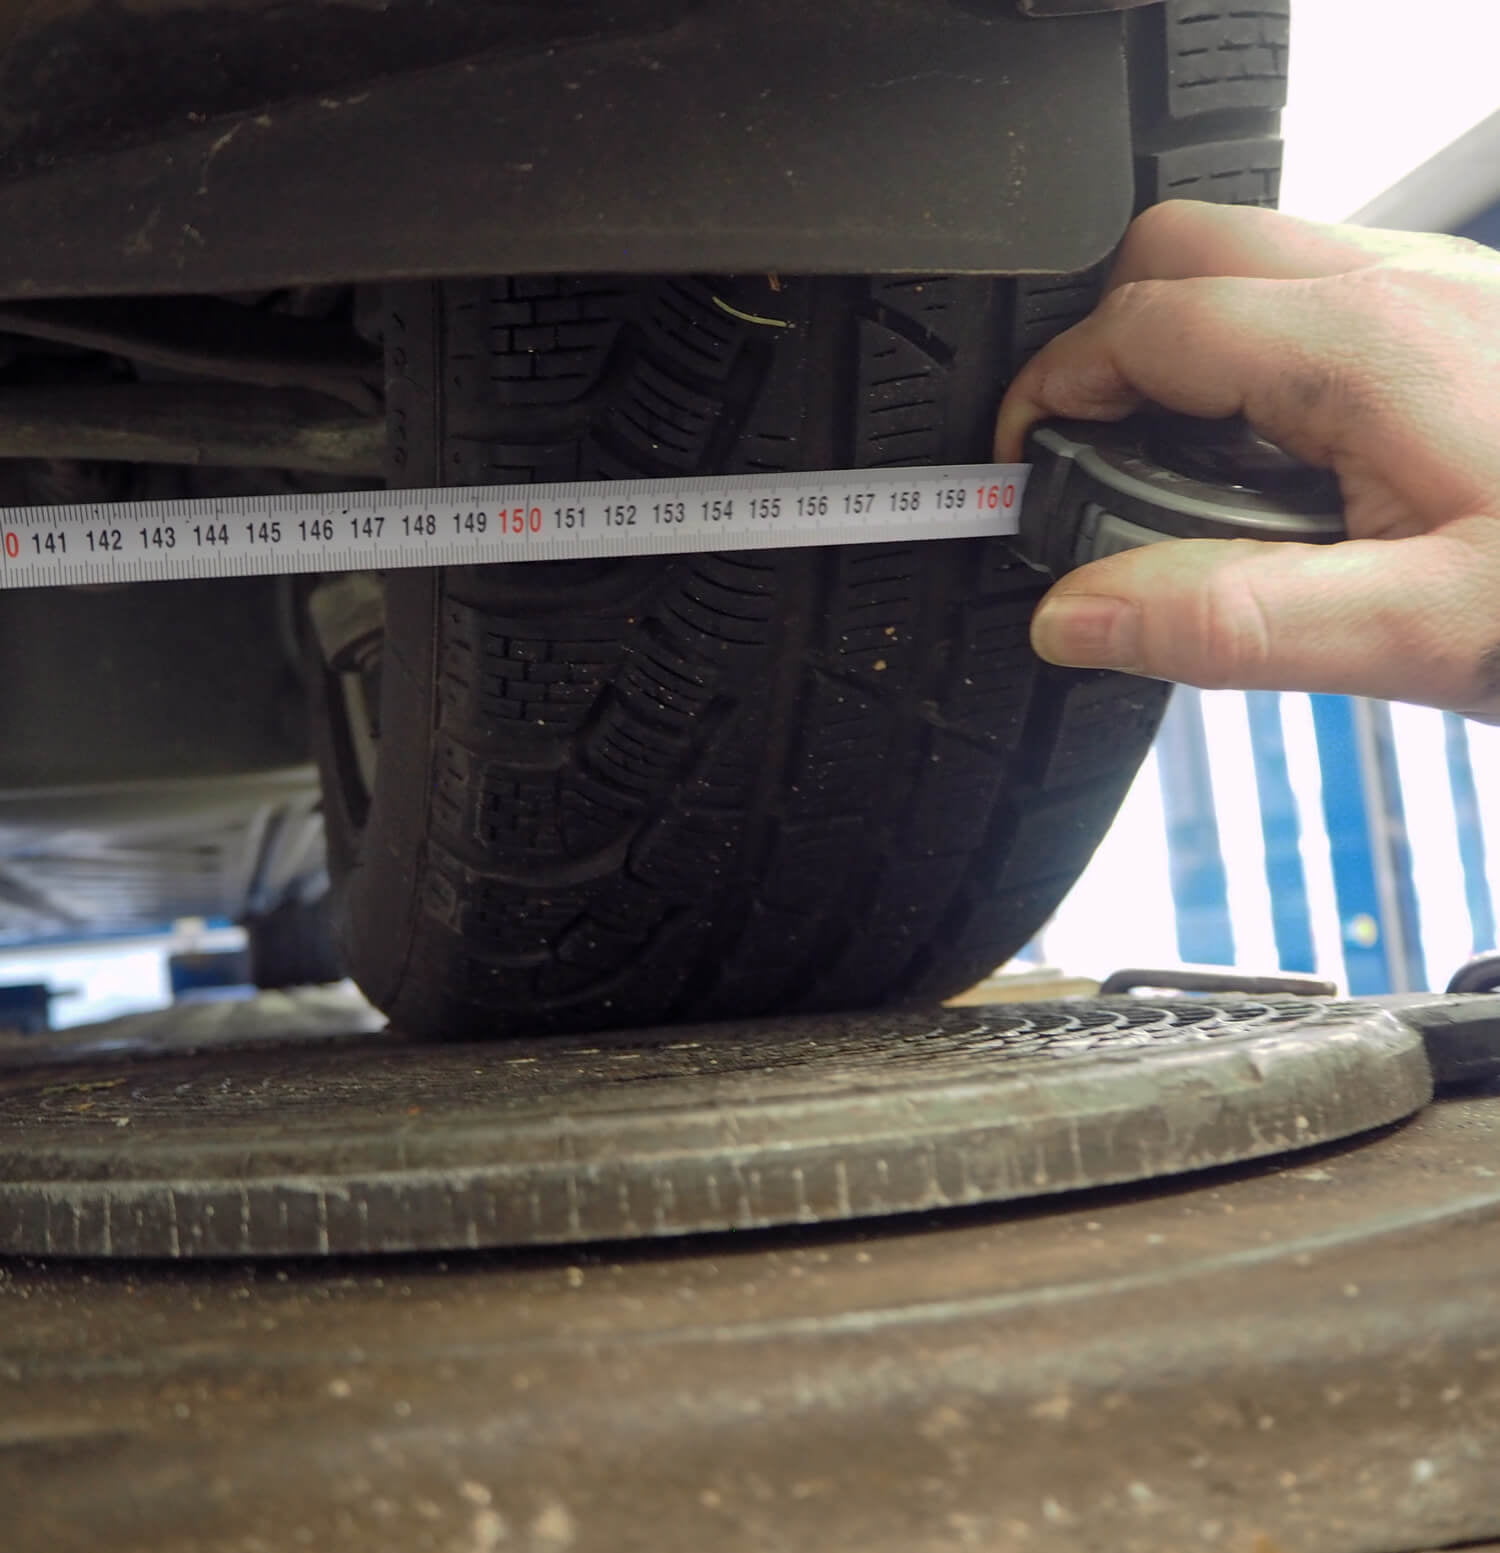
Correct:
As soon as a suspension part has been replaced, check the axle geometry with the correct tool or machine. Even on vehicles/axles where these settings cannot be changed, they have to be checked and any defects on the vehicle have to be repaired if necessary.
